<?xml version="1.0" encoding="utf-8"?><feed xmlns="http://www.w3.org/2005/Atom" ><generator uri="https://jekyllrb.com/" version="3.10.0">Jekyll</generator><link href="https://www.danielebonaldo.com/feed.xml" rel="self" type="application/atom+xml" /><link href="https://www.danielebonaldo.com/" rel="alternate" type="text/html" /><updated>2026-05-19T07:43:24+00:00</updated><id>https://www.danielebonaldo.com/feed.xml</id><title type="html">Daniele Bonaldo</title><subtitle>The personal website of Daniele Bonaldo. Android consultant, Google Developer Expert for Android, Wearables and IoT. Amateur photographer and traveler.</subtitle><author><name>Daniele Bonaldo</name></author><entry><title type="html">Building a Ferrari-inspired morphing dial with Compose Multiplatform</title><link href="https://www.danielebonaldo.com/compose-automotive-dashboard/" rel="alternate" type="text/html" title="Building a Ferrari-inspired morphing dial with Compose Multiplatform" /><published>2026-04-23T00:00:00+00:00</published><updated>2026-04-23T00:00:00+00:00</updated><id>https://www.danielebonaldo.com/compose-automotive-dashboard</id><content type="html" xml:base="https://www.danielebonaldo.com/compose-automotive-dashboard/"><![CDATA[<p>I have a deep appreciation for design that goes beyond function — the kind where you can feel the intention behind every detail. So when Ferrari revealed the <a href="https://www.instagram.com/p/DXJfJtmjc2c/" target="_blank">Luce infotainment concept</a>, a collaboration with Jony Ive’s design studio LoveFrom, I stopped scrolling. The dashboard they showed wasn’t just beautiful — it was a great example of clean design mixed with delightful animations. One element in particular caught my eye: a single circular dial that morphs fluidly between a clock, a stopwatch, and a compass. Minimal, confident, and obsessively refined.</p>

<blockquote class="instagram-media" data-instgrm-captioned="" data-instgrm-permalink="https://www.instagram.com/reel/DXJfJtmjc2c/?utm_source=ig_embed&amp;utm_campaign=loading" data-instgrm-version="14" style=" background:#FFF; border:0; border-radius:3px; box-shadow:0 0 1px 0 rgba(0,0,0,0.5),0 1px 10px 0 rgba(0,0,0,0.15); margin: 1px; max-width:540px; min-width:326px; padding:0; width:99.375%; width:-webkit-calc(100% - 2px); width:calc(100% - 2px);"><div style="padding:16px;"> <a href="https://www.instagram.com/reel/DXJfJtmjc2c/?utm_source=ig_embed&amp;utm_campaign=loading" style=" background:#FFFFFF; line-height:0; padding:0 0; text-align:center; text-decoration:none; width:100%;" target="_blank"> <div style=" display: flex; flex-direction: row; align-items: center;"> <div style="background-color: #F4F4F4; border-radius: 50%; flex-grow: 0; height: 40px; margin-right: 14px; width: 40px;"></div> <div style="display: flex; flex-direction: column; flex-grow: 1; justify-content: center;"> <div style=" background-color: #F4F4F4; border-radius: 4px; flex-grow: 0; height: 14px; margin-bottom: 6px; width: 100px;"></div> <div style=" background-color: #F4F4F4; border-radius: 4px; flex-grow: 0; height: 14px; width: 60px;"></div></div></div><div style="padding: 19% 0;"></div> <div style="display:block; height:50px; margin:0 auto 12px; width:50px;"><svg width="50px" height="50px" viewBox="0 0 60 60" version="1.1" xmlns="https://www.w3.org/2000/svg" xmlns:xlink="https://www.w3.org/1999/xlink"><g stroke="none" stroke-width="1" fill="none" fill-rule="evenodd"><g transform="translate(-511.000000, -20.000000)" fill="#000000"><g><path d="M556.869,30.41 C554.814,30.41 553.148,32.076 553.148,34.131 C553.148,36.186 554.814,37.852 556.869,37.852 C558.924,37.852 560.59,36.186 560.59,34.131 C560.59,32.076 558.924,30.41 556.869,30.41 M541,60.657 C535.114,60.657 530.342,55.887 530.342,50 C530.342,44.114 535.114,39.342 541,39.342 C546.887,39.342 551.658,44.114 551.658,50 C551.658,55.887 546.887,60.657 541,60.657 M541,33.886 C532.1,33.886 524.886,41.1 524.886,50 C524.886,58.899 532.1,66.113 541,66.113 C549.9,66.113 557.115,58.899 557.115,50 C557.115,41.1 549.9,33.886 541,33.886 M565.378,62.101 C565.244,65.022 564.756,66.606 564.346,67.663 C563.803,69.06 563.154,70.057 562.106,71.106 C561.058,72.155 560.06,72.803 558.662,73.347 C557.607,73.757 556.021,74.244 553.102,74.378 C549.944,74.521 548.997,74.552 541,74.552 C533.003,74.552 532.056,74.521 528.898,74.378 C525.979,74.244 524.393,73.757 523.338,73.347 C521.94,72.803 520.942,72.155 519.894,71.106 C518.846,70.057 518.197,69.06 517.654,67.663 C517.244,66.606 516.755,65.022 516.623,62.101 C516.479,58.943 516.448,57.996 516.448,50 C516.448,42.003 516.479,41.056 516.623,37.899 C516.755,34.978 517.244,33.391 517.654,32.338 C518.197,30.938 518.846,29.942 519.894,28.894 C520.942,27.846 521.94,27.196 523.338,26.654 C524.393,26.244 525.979,25.756 528.898,25.623 C532.057,25.479 533.004,25.448 541,25.448 C548.997,25.448 549.943,25.479 553.102,25.623 C556.021,25.756 557.607,26.244 558.662,26.654 C560.06,27.196 561.058,27.846 562.106,28.894 C563.154,29.942 563.803,30.938 564.346,32.338 C564.756,33.391 565.244,34.978 565.378,37.899 C565.522,41.056 565.552,42.003 565.552,50 C565.552,57.996 565.522,58.943 565.378,62.101 M570.82,37.631 C570.674,34.438 570.167,32.258 569.425,30.349 C568.659,28.377 567.633,26.702 565.965,25.035 C564.297,23.368 562.623,22.342 560.652,21.575 C558.743,20.834 556.562,20.326 553.369,20.18 C550.169,20.033 549.148,20 541,20 C532.853,20 531.831,20.033 528.631,20.18 C525.438,20.326 523.257,20.834 521.349,21.575 C519.376,22.342 517.703,23.368 516.035,25.035 C514.368,26.702 513.342,28.377 512.574,30.349 C511.834,32.258 511.326,34.438 511.181,37.631 C511.035,40.831 511,41.851 511,50 C511,58.147 511.035,59.17 511.181,62.369 C511.326,65.562 511.834,67.743 512.574,69.651 C513.342,71.625 514.368,73.296 516.035,74.965 C517.703,76.634 519.376,77.658 521.349,78.425 C523.257,79.167 525.438,79.673 528.631,79.82 C531.831,79.965 532.853,80.001 541,80.001 C549.148,80.001 550.169,79.965 553.369,79.82 C556.562,79.673 558.743,79.167 560.652,78.425 C562.623,77.658 564.297,76.634 565.965,74.965 C567.633,73.296 568.659,71.625 569.425,69.651 C570.167,67.743 570.674,65.562 570.82,62.369 C570.966,59.17 571,58.147 571,50 C571,41.851 570.966,40.831 570.82,37.631"></path></g></g></g></svg></div><div style="padding-top: 8px;"> <div style=" color:#3897f0; font-family:Arial,sans-serif; font-size:14px; font-style:normal; font-weight:550; line-height:18px;">Visualizza questo post su Instagram</div></div><div style="padding: 12.5% 0;"></div> <div style="display: flex; flex-direction: row; margin-bottom: 14px; align-items: center;"><div> <div style="background-color: #F4F4F4; border-radius: 50%; height: 12.5px; width: 12.5px; transform: translateX(0px) translateY(7px);"></div> <div style="background-color: #F4F4F4; height: 12.5px; transform: rotate(-45deg) translateX(3px) translateY(1px); width: 12.5px; flex-grow: 0; margin-right: 14px; margin-left: 2px;"></div> <div style="background-color: #F4F4F4; border-radius: 50%; height: 12.5px; width: 12.5px; transform: translateX(9px) translateY(-18px);"></div></div><div style="margin-left: 8px;"> <div style=" background-color: #F4F4F4; border-radius: 50%; flex-grow: 0; height: 20px; width: 20px;"></div> <div style=" width: 0; height: 0; border-top: 2px solid transparent; border-left: 6px solid #f4f4f4; border-bottom: 2px solid transparent; transform: translateX(16px) translateY(-4px) rotate(30deg)"></div></div><div style="margin-left: auto;"> <div style=" width: 0px; border-top: 8px solid #F4F4F4; border-right: 8px solid transparent; transform: translateY(16px);"></div> <div style=" background-color: #F4F4F4; flex-grow: 0; height: 12px; width: 16px; transform: translateY(-4px);"></div> <div style=" width: 0; height: 0; border-top: 8px solid #F4F4F4; border-left: 8px solid transparent; transform: translateY(-4px) translateX(8px);"></div></div></div> <div style="display: flex; flex-direction: column; flex-grow: 1; justify-content: center; margin-bottom: 24px;"> <div style=" background-color: #F4F4F4; border-radius: 4px; flex-grow: 0; height: 14px; margin-bottom: 6px; width: 224px;"></div> <div style=" background-color: #F4F4F4; border-radius: 4px; flex-grow: 0; height: 14px; width: 144px;"></div></div></a><p style=" color:#c9c8cd; font-family:Arial,sans-serif; font-size:14px; line-height:17px; margin-bottom:0; margin-top:8px; overflow:hidden; padding:8px 0 7px; text-align:center; text-overflow:ellipsis; white-space:nowrap;"><a href="https://www.instagram.com/reel/DXJfJtmjc2c/?utm_source=ig_embed&amp;utm_campaign=loading" style=" color:#c9c8cd; font-family:Arial,sans-serif; font-size:14px; font-style:normal; font-weight:normal; line-height:17px; text-decoration:none;" target="_blank">Un post condiviso da Ferrari (@ferrari)</a></p></div></blockquote>
<script async="" src="//www.instagram.com/embed.js"></script>

<p>Good UX, for me, is exactly this: the absence of friction, the presence of intent. Not just that things work, but that they feel right — that every transition is smooth, every proportion deliberate, every detail earned. When I saw that dial I thought: <em>I want to build that</em>. Not to ship a product, but to understand it, to feel through my fingers how much craft goes into something that looks this effortless.</p>

<p>I picked Compose Multiplatform — a framework I know well and genuinely enjoy — and started building.</p>

<h2 id="disclaimer">Disclaimer</h2>

<p>This project is strictly for educational purposes and is not affiliated with, associated with, authorized by, endorsed by, or in any way officially connected to Ferrari S.p.A., LoveFrom, or any of their subsidiaries or affiliates. “Ferrari”, the Prancing Horse logo, the “Luce” name, and all related designs are registered trademarks and the exclusive intellectual property of Ferrari S.p.A. This project generates no revenue and exists solely as a technical exploration for the developer community.</p>

<h2 id="what-it-does">What it does</h2>

<p>The dial has three modes, each with a distinct visual identity:</p>

<ul>
  <li><strong>Clock</strong> — a traditional analog face with hour, minute, and second hands against a dark dial</li>
  <li><strong>Stopwatch</strong> — a yellow face with two sub-dials for minutes and hours, all clock hands converging on the elapsed seconds position</li>
  <li><strong>Compass</strong> — a clean dial with cardinal directions and degree markers that rotate as the device moves</li>
</ul>

<p>Switching between modes isn’t a jump cut. Everything morphs: the face color, the center shape, the tick mark lengths, the hands — all animate simultaneously. The clock’s pill-shaped center expands sideways into the stopwatch’s sub-dial housing, or collapses into the compass’s clean circle. This choreography was the hardest thing to get right, and the most satisfying once it worked.</p>

<figure>
	<img src="/assets/images/automotive_dashboard.png" />
</figure>

<h2 id="the-technical-side">The technical side</h2>

<h3 id="drawing-the-dial-canvas-and-polar-coordinates">Drawing the dial: Canvas and polar coordinates</h3>

<p>The entire dial is drawn on a Compose <code class="language-plaintext highlighter-rouge">Canvas</code>, using nothing but lines, arcs, paths, and text. There are no images or vector assets — everything is procedural.</p>

<p>The core geometry is polar. Each tick mark, hand, and label is placed by converting an angle and a radius into Cartesian coordinates:</p>

<div class="language-kotlin highlighter-rouge"><div class="highlight"><pre class="highlight"><code><span class="kd">val</span> <span class="py">x</span> <span class="p">=</span> <span class="n">center</span><span class="p">.</span><span class="n">x</span> <span class="p">+</span> <span class="p">(</span><span class="n">radius</span> <span class="p">*</span> <span class="nf">cos</span><span class="p">(</span><span class="n">angleRad</span><span class="p">)).</span><span class="nf">toFloat</span><span class="p">()</span>
<span class="kd">val</span> <span class="py">y</span> <span class="p">=</span> <span class="n">center</span><span class="p">.</span><span class="n">y</span> <span class="p">+</span> <span class="p">(</span><span class="n">radius</span> <span class="p">*</span> <span class="nf">sin</span><span class="p">(</span><span class="n">angleRad</span><span class="p">)).</span><span class="nf">toFloat</span><span class="p">()</span>
</code></pre></div></div>

<p>The clock hands are drawn as <code class="language-plaintext highlighter-rouge">Path</code> objects — a rectangle with a rounded top (an <code class="language-plaintext highlighter-rouge">arcTo</code> semicircle) and an optional tail for the seconds hand. Getting the arc direction right in Compose’s canvas (y-axis points down, so clockwise is positive sweep) took some careful thinking.</p>

<p>Scaling was an interesting challenge. Because the dial needs to look identical at any size and on any display density, I use a single <code class="language-plaintext highlighter-rouge">sizeRatio</code> factor derived from the actual canvas pixel width:</p>

<div class="language-kotlin highlighter-rouge"><div class="highlight"><pre class="highlight"><code><span class="n">sizeRatio</span> <span class="p">=</span> <span class="n">canvasWidth</span> <span class="p">/</span> <span class="mf">1144f</span>  <span class="c1">// 1144px is the base design size</span>
</code></pre></div></div>

<p>Every size — tick lengths, stroke widths, hand widths, font sizes — is expressed as a multiple of <code class="language-plaintext highlighter-rouge">sizeRatio</code>. The critical detail is that you must <em>not</em> use <code class="language-plaintext highlighter-rouge">dp.toPx()</code> for canvas drawing, because <code class="language-plaintext highlighter-rouge">toPx()</code> bakes in the display density. On a 2× display, the canvas already has twice the pixels; a <code class="language-plaintext highlighter-rouge">dp</code> value that also doubles gives you proportions that are inconsistent across screens. The fix is to work in pure pixel fractions of the canvas size.</p>

<p>For text, the same principle applies to <code class="language-plaintext highlighter-rouge">sp</code>: instead of <code class="language-plaintext highlighter-rouge">fontSize = 48.sp * sizeRatio</code> (which includes the display DPI factor from <code class="language-plaintext highlighter-rouge">sp</code>), I compute the exact canvas-pixel size I want and convert it back to sp by neutralising density and font scale:</p>

<div class="language-kotlin highlighter-rouge"><div class="highlight"><pre class="highlight"><code><span class="n">fontSize</span> <span class="p">=</span> <span class="p">(</span><span class="mf">48f</span> <span class="p">*</span> <span class="n">sizeRatio</span> <span class="p">/</span> <span class="n">density</span> <span class="p">/</span> <span class="n">fontScale</span><span class="p">).</span><span class="n">sp</span>
</code></pre></div></div>

<h3 id="compose-animations-morphing-state">Compose animations: morphing state</h3>

<p>The morphing effect is powered by Compose <code class="language-plaintext highlighter-rouge">updateTransition</code>, a declarative API that manages multiple animations in sync. By associating this single transition with several extension methods — such as <code class="language-plaintext highlighter-rouge">animateColor</code> for the dial face or <code class="language-plaintext highlighter-rouge">animateDp</code> for dimensions and positions — we can define exactly how each property should look for our three states: <strong>Clock</strong>, <strong>Stopwatch</strong>, and <strong>Compass</strong>.</p>

<figure>
	<img src="/assets/images/automotive_dashboard_morph_animation.gif" />
</figure>

<p>The syntax is remarkably simple: you just define the target value for each state, and Compose takes care of the rest, providing smooth animations with beautifully interpolated values. Because the entire system is tied to the current <code class="language-plaintext highlighter-rouge">uiState</code>, switching modes triggers a coordinated choreography where every visual element “knows” where it needs to go:</p>

<div class="language-kotlin highlighter-rouge"><div class="highlight"><pre class="highlight"><code><span class="kd">val</span> <span class="py">transition</span> <span class="p">=</span> <span class="nf">updateTransition</span><span class="p">(</span><span class="n">targetState</span> <span class="p">=</span> <span class="n">uiState</span><span class="p">,</span> <span class="n">label</span> <span class="p">=</span> <span class="s">"DialTransition"</span><span class="p">)</span>

<span class="kd">val</span> <span class="py">outerBackgroundColor</span> <span class="k">by</span> <span class="n">transition</span><span class="p">.</span><span class="nf">animateColor</span><span class="p">(</span>
    <span class="n">transitionSpec</span> <span class="p">=</span> <span class="p">{</span> <span class="nf">tween</span><span class="p">(</span><span class="mi">600</span><span class="p">)</span> <span class="p">},</span> <span class="n">label</span> <span class="p">=</span> <span class="s">"FaceColor"</span>
<span class="p">)</span> <span class="p">{</span> <span class="n">state</span> <span class="p">-&gt;</span>
    <span class="k">when</span> <span class="p">(</span><span class="n">state</span><span class="p">)</span> <span class="p">{</span>
        <span class="k">is</span> <span class="nc">UiState</span><span class="p">.</span><span class="nc">Clock</span>     <span class="p">-&gt;</span> <span class="nc">Color</span><span class="p">(</span><span class="mh">0xFFCCCCCC</span><span class="p">)</span>
        <span class="k">is</span> <span class="nc">UiState</span><span class="p">.</span><span class="nc">Stopwatch</span> <span class="p">-&gt;</span> <span class="nc">Color</span><span class="p">(</span><span class="mh">0xFFFFDD00</span><span class="p">)</span>
        <span class="k">is</span> <span class="nc">UiState</span><span class="p">.</span><span class="nc">Compass</span>   <span class="p">-&gt;</span> <span class="nc">Color</span><span class="p">(</span><span class="mh">0xFFCCCCCC</span><span class="p">)</span>
    <span class="p">}</span>
<span class="p">}</span>

<span class="kd">val</span> <span class="py">primaryTickLength</span> <span class="k">by</span> <span class="n">transition</span><span class="p">.</span><span class="nf">animateDp</span><span class="p">(</span>
    <span class="n">transitionSpec</span> <span class="p">=</span> <span class="p">{</span> <span class="nf">tween</span><span class="p">(</span><span class="mi">600</span><span class="p">)</span> <span class="p">},</span> <span class="n">label</span> <span class="p">=</span> <span class="s">"TickLength"</span>
<span class="p">)</span> <span class="p">{</span> <span class="n">state</span> <span class="p">-&gt;</span>
    <span class="k">when</span> <span class="p">(</span><span class="n">state</span><span class="p">)</span> <span class="p">{</span>
        <span class="k">is</span> <span class="nc">UiState</span><span class="p">.</span><span class="nc">Clock</span> <span class="p">-&gt;</span> <span class="mi">36</span><span class="p">.</span><span class="n">dp</span>
        <span class="k">is</span> <span class="nc">UiState</span><span class="p">.</span><span class="nc">Stopwatch</span> <span class="p">-&gt;</span> <span class="mi">48</span><span class="p">.</span><span class="n">dp</span>
        <span class="k">is</span> <span class="nc">UiState</span><span class="p">.</span><span class="nc">Compass</span> <span class="p">-&gt;</span> <span class="mi">24</span><span class="p">.</span><span class="n">dp</span>
    <span class="p">}</span>
<span class="p">}</span>
</code></pre></div></div>

<p>For the hand angles I learned something non-obvious: <code class="language-plaintext highlighter-rouge">transition.animateFloat</code> is designed for <em>discrete state targets</em>, not for continuously changing values. Using it to track real-time clock seconds caused the hands to animate backward every 60 seconds — the animation saw the angle target jump from ~360° to ~0° and took the shortest path. The fix was to compute hand angles directly from elapsed time each frame (no animation), and use the transition system only for two dimensionless <em>lerp factors</em>:</p>

<div class="language-kotlin highlighter-rouge"><div class="highlight"><pre class="highlight"><code><span class="kd">val</span> <span class="py">nonCompassLerp</span> <span class="k">by</span> <span class="n">transition</span><span class="p">.</span><span class="nf">animateFloat</span><span class="p">(</span><span class="o">..</span><span class="p">.)</span> <span class="p">{</span> <span class="n">state</span> <span class="p">-&gt;</span>
    <span class="k">if</span> <span class="p">(</span><span class="n">state</span> <span class="k">is</span> <span class="nc">UiState</span><span class="p">.</span><span class="nc">Compass</span><span class="p">)</span> <span class="mf">0f</span> <span class="k">else</span> <span class="mf">1f</span>
<span class="p">}</span>
<span class="kd">val</span> <span class="py">stopwatchLerp</span> <span class="k">by</span> <span class="n">transition</span><span class="p">.</span><span class="nf">animateFloat</span><span class="p">(</span><span class="o">..</span><span class="p">.)</span> <span class="p">{</span> <span class="n">state</span> <span class="p">-&gt;</span>
    <span class="k">if</span> <span class="p">(</span><span class="n">state</span> <span class="k">is</span> <span class="nc">UiState</span><span class="p">.</span><span class="nc">Stopwatch</span><span class="p">)</span> <span class="mf">1f</span> <span class="k">else</span> <span class="mf">0f</span>
<span class="p">}</span>
</code></pre></div></div>

<p>The actual hand angle is then a blend of the frozen clock and frozen stopwatch positions, scaled by these factors:</p>

<div class="language-kotlin highlighter-rouge"><div class="highlight"><pre class="highlight"><code><span class="kd">val</span> <span class="py">secondsHandAngle</span> <span class="p">=</span> <span class="p">(</span><span class="n">clockSecondsAngle</span> <span class="p">+</span> <span class="p">(</span><span class="n">swSecondsAngle</span> <span class="p">-</span> <span class="n">clockSecondsAngle</span><span class="p">)</span> <span class="p">*</span> <span class="n">swRatio</span><span class="p">)</span> <span class="p">*</span> <span class="n">nonCompassLerp</span>
</code></pre></div></div>

<p>This also required keeping <em>separate</em> time counters for clock and stopwatch, so each freezes when its mode is inactive. That way, when you switch from stopwatch back to clock, the hands animate from where the stopwatch left them — not from where the clock time happened to jump when the elapsed counter was reset.</p>

<h3 id="compose-multiplatform-one-codebase-four-targets">Compose Multiplatform: one codebase, four targets</h3>

<p>All the rendering logic lives in <code class="language-plaintext highlighter-rouge">commonMain</code>. The same <code class="language-plaintext highlighter-rouge">Canvas</code> drawing code runs on:</p>

<ul>
  <li><strong>Android</strong> — via Jetpack Compose</li>
  <li><strong>Desktop (JVM)</strong> — via Compose for Desktop</li>
  <li><strong>Web (Wasm)</strong> — deployed to GitHub Pages via a GitHub Actions workflow</li>
  <li><strong>Web (JS)</strong> — fallback for older browsers</li>
</ul>

<p>The build matrix is simple because Kotlin Multiplatform does the heavy lifting: there’s no per-platform rendering code, no platform-specific sizing logic. The <code class="language-plaintext highlighter-rouge">sizeRatio</code> system handles the rest.</p>

<p>A GitHub Actions workflow builds the Wasm distribution on every push to <code class="language-plaintext highlighter-rouge">main</code> and deploys it automatically — no manual steps. You can see the live result here:</p>

<iframe src="https://www.danielebonaldo.com/automotive-dashboard/" width="100%" height="620" style="border:none; border-radius:12px;" title="Automotive Dashboard — live demo"></iframe>

<blockquote>
  <p>If your browser doesn’t render iframes, <a href="https://www.danielebonaldo.com/automotive-dashboard/" target="_blank">open the live demo here</a>.</p>
</blockquote>

<h3 id="not-just-an-animation--a-fully-interactive-demo">Not just an animation — a fully interactive demo</h3>

<p>What you see above isn’t a pre-recorded sequence: it’s a <strong>live, interactive application</strong> built with Compose Multiplatform. You can run it on Android, on Desktop, or right here in the browser — and it behaves exactly the same everywhere.</p>

<p>Use the buttons to switch between modes and try it out:</p>

<ul>
  <li>The <strong>clock</strong> displays real system time — the hands move with your actual hours, minutes, and seconds.</li>
  <li>The <strong>stopwatch</strong> is fully functional: start, pause, and reset it, and watch the elapsed time accumulate precisely.</li>
  <li>The <strong>compass</strong> is the only simulated part — the ViewModel emits random heading changes every second, mimicking the experience of a car moving through turns in a real driving scenario.</li>
</ul>

<p>Every transition between these states is smooth and interpolated, thanks to the Compose animation system described above — but the data behind each mode is real (or realistically simulated in case of the compass direction), making this a proper interactive experience rather than a canned demo.</p>

<h2 id="the-role-of-ai">The role of AI</h2>

<p>I started building this largely by hand — laying out the geometry, working through the state machine, writing the initial animations. But at several points, having an AI collaborator made a genuine difference.</p>

<p>The <strong>angle and path geometry</strong> for the dial hands (arc directions, sweep signs, coordinate conversions) involves enough edge cases in Compose’s y-down coordinate system that having a second pair of eyes to reason through the math — and catch when I had the sweep angle backwards — saved real time.</p>

<p>The <strong>animation bug</strong> — hands rotating backward at the 60-second mark — was subtle. The root cause (using <code class="language-plaintext highlighter-rouge">transition.animateFloat</code> as a continuous tracker when it’s designed for discrete targets) wasn’t obvious from looking at the symptom. Talking through the mechanism of how <code class="language-plaintext highlighter-rouge">animateFloat</code> computes its from/to values helped me see the fix quickly.</p>

<p>The <strong>density scaling bug</strong> — inconsistent text and tick proportions across displays (and platforms) — involved understanding the full chain: canvas pixels → <code class="language-plaintext highlighter-rouge">sizeRatio</code> → <code class="language-plaintext highlighter-rouge">dp.toPx()</code> → the extra density factor. Working through exactly where the density crept in benefited from systematic auditing across the whole drawing codebase.</p>

<p>And across all of it: the iteration loop of “this looks wrong, here’s why I think it is, let’s reason through it” was faster and more precise with an AI that could hold the full context of the problem.</p>

<h2 id="what-i-learned">What I learned</h2>

<p>Building something beautiful, even in miniature and even as a learning exercise, demands the same rigour that makes real products feel good. The Ferrari Luce dial has maybe ten moving parts visually. Implementing it faithfully involved: polar geometry, animation state machines, density-independent scaling, cross-platform rendering, WebAssembly deployment, and a fair amount of debugging subtle bugs.</p>

<p>Good UX isn’t just about the final frame. It’s about every frame in between.</p>

<hr />

<p><em>You can find <a href="https://github.com/danybony/automotive-dashboard" target="_blank">the project on GitHub</a>. All code is open source under an educational use intent; see the disclaimer above.</em></p>]]></content><author><name>Daniele Bonaldo</name></author><summary type="html"><![CDATA[A single dial that morphs between clock, stopwatch, and compass — and how I built it with Compose Multiplatform]]></summary></entry><entry><title type="html">2020 in the air</title><link href="https://www.danielebonaldo.com/2020-drone-shots-copy/" rel="alternate" type="text/html" title="2020 in the air" /><published>2021-01-01T00:00:00+00:00</published><updated>2021-01-01T00:00:00+00:00</updated><id>https://www.danielebonaldo.com/2020-drone-shots%20copy</id><content type="html" xml:base="https://www.danielebonaldo.com/2020-drone-shots-copy/"><![CDATA[<p>As 2020 finally ends and a new year starts, I took this opportunity to collect some of the best shots I did last year with my drone.</p>

<p>These are all from within Italy, mostly in Veneto but some also from other regions, and as you will see they cover pretty much every season I was ably to hike and fly.<br />
Enjoy!</p>

<iframe width="560" height="315" src="https://www.youtube.com/embed/xJc6EPPHZiI" frameborder="0" allow="accelerometer; autoplay; clipboard-write; encrypted-media; gyroscope; picture-in-picture" allowfullscreen=""></iframe>]]></content><author><name>Daniele Bonaldo</name></author><summary type="html"><![CDATA[A selection of my best drone shots of 2020]]></summary></entry><entry><title type="html">Kotlin as scripting language - live Youtube streaming</title><link href="https://www.danielebonaldo.com/android-developers-italia-kscript-talk/" rel="alternate" type="text/html" title="Kotlin as scripting language - live Youtube streaming" /><published>2020-03-22T00:00:00+00:00</published><updated>2020-03-22T00:00:00+00:00</updated><id>https://www.danielebonaldo.com/android-developers-italia-kscript-talk</id><content type="html" xml:base="https://www.danielebonaldo.com/android-developers-italia-kscript-talk/"><![CDATA[<p>As of the beginning of March Italy is <a href="https://en.wikipedia.org/wiki/2020_Italy_coronavirus_lockdown">in full lockdown</a> in response to the growing pandemic of COVID-19 in the country, and consequently all public events are canceled for the foreseeable future.</p>

<p>In this time it’s even more important that people like me, who worked full-time remotely for a long time, give some help at least providing some sort of normality in this challenging period.</p>

<p>So together with the other fine folks on the <a href="https://androiddevs.it/">Android Developers Italia</a> community, we decided to start a series of 100% remote meetups, each one with a guest speaker, an open discussion at the end and live audience questions.</p>

<p>I gave my talk about <em>Kotlin as a scripting language</em> last week and you can watch the talk and following discussion here:</p>

<iframe width="560" height="315" src="https://www.youtube.com/embed/SNRy1KnXroo" frameborder="0" allow="accelerometer; autoplay; encrypted-media; gyroscope; picture-in-picture" allowfullscreen=""></iframe>

<p>This initiative proved a great success already and we have dozens of more talks planned already for the next weeks!</p>]]></content><author><name>Daniele Bonaldo</name></author><summary type="html"><![CDATA[The first remote-only meetup for Android Developers Italia]]></summary></entry><entry><title type="html">Make Android Studio debugger more powerful with custom Data Views</title><link href="https://www.danielebonaldo.com/android-studio-debugger-caster/" rel="alternate" type="text/html" title="Make Android Studio debugger more powerful with custom Data Views" /><published>2020-03-17T00:00:00+00:00</published><updated>2020-03-17T00:00:00+00:00</updated><id>https://www.danielebonaldo.com/android-studio-debugger-caster</id><content type="html" xml:base="https://www.danielebonaldo.com/android-studio-debugger-caster/"><![CDATA[<p>Android Studio debugger is a powerful tool, very helpful when investigating some issue with our Android app.</p>

<p>There are however some incredibly useful features that most developers don’t know about.</p>

<p>I created a video lesson on Caster.io where you will learn how to use custom Data Views to obtain the most out of Android Studio debugger, by creating custom representation for given classes in the debugger view and immediately inspect only the most relevant information of the current state of your app while debugging.</p>

<p>It’s a free lesson, you can watch it here:</p>

<p><a href="https://caster.io/lessons/make-android-studio-debugger-more-powerful-with-custom-data-views?wvideo=j1btuo7o4o"><img src="https://embedwistia-a.akamaihd.net/deliveries/e4f130d19c1766b81eda881563daf5d164388447.jpg?image_play_button_size=2x&amp;image_crop_resized=960x540&amp;image_play_button=1&amp;image_play_button_color=36495be0" width="800" height="450" /></a></p>
<p><a href="https://caster.io/lessons/make-android-studio-debugger-more-powerful-with-custom-data-views?wvideo=j1btuo7o4o">Make Android Studio debugger more powerful with custom Data Views | Caster.IO</a></p>]]></content><author><name>Daniele Bonaldo</name></author><summary type="html"><![CDATA[A video lesson on Caster.io]]></summary></entry><entry><title type="html">Winter steam train</title><link href="https://www.danielebonaldo.com/steam-train-from-drone/" rel="alternate" type="text/html" title="Winter steam train" /><published>2020-01-02T00:00:00+00:00</published><updated>2020-01-02T00:00:00+00:00</updated><id>https://www.danielebonaldo.com/steam-train-from-drone</id><content type="html" xml:base="https://www.danielebonaldo.com/steam-train-from-drone/"><![CDATA[<p>Nowadays trains are way more efficient (and cleaner) than how they used to be a century ago, but steam ones still manage to hold a huge amount of charm.
In my region there is an <a href="http://www.lacarrozzamatta.it/">association</a> of passionate people that still maintains a 100-years-old steam engine and runs it a couple of times a year.</p>

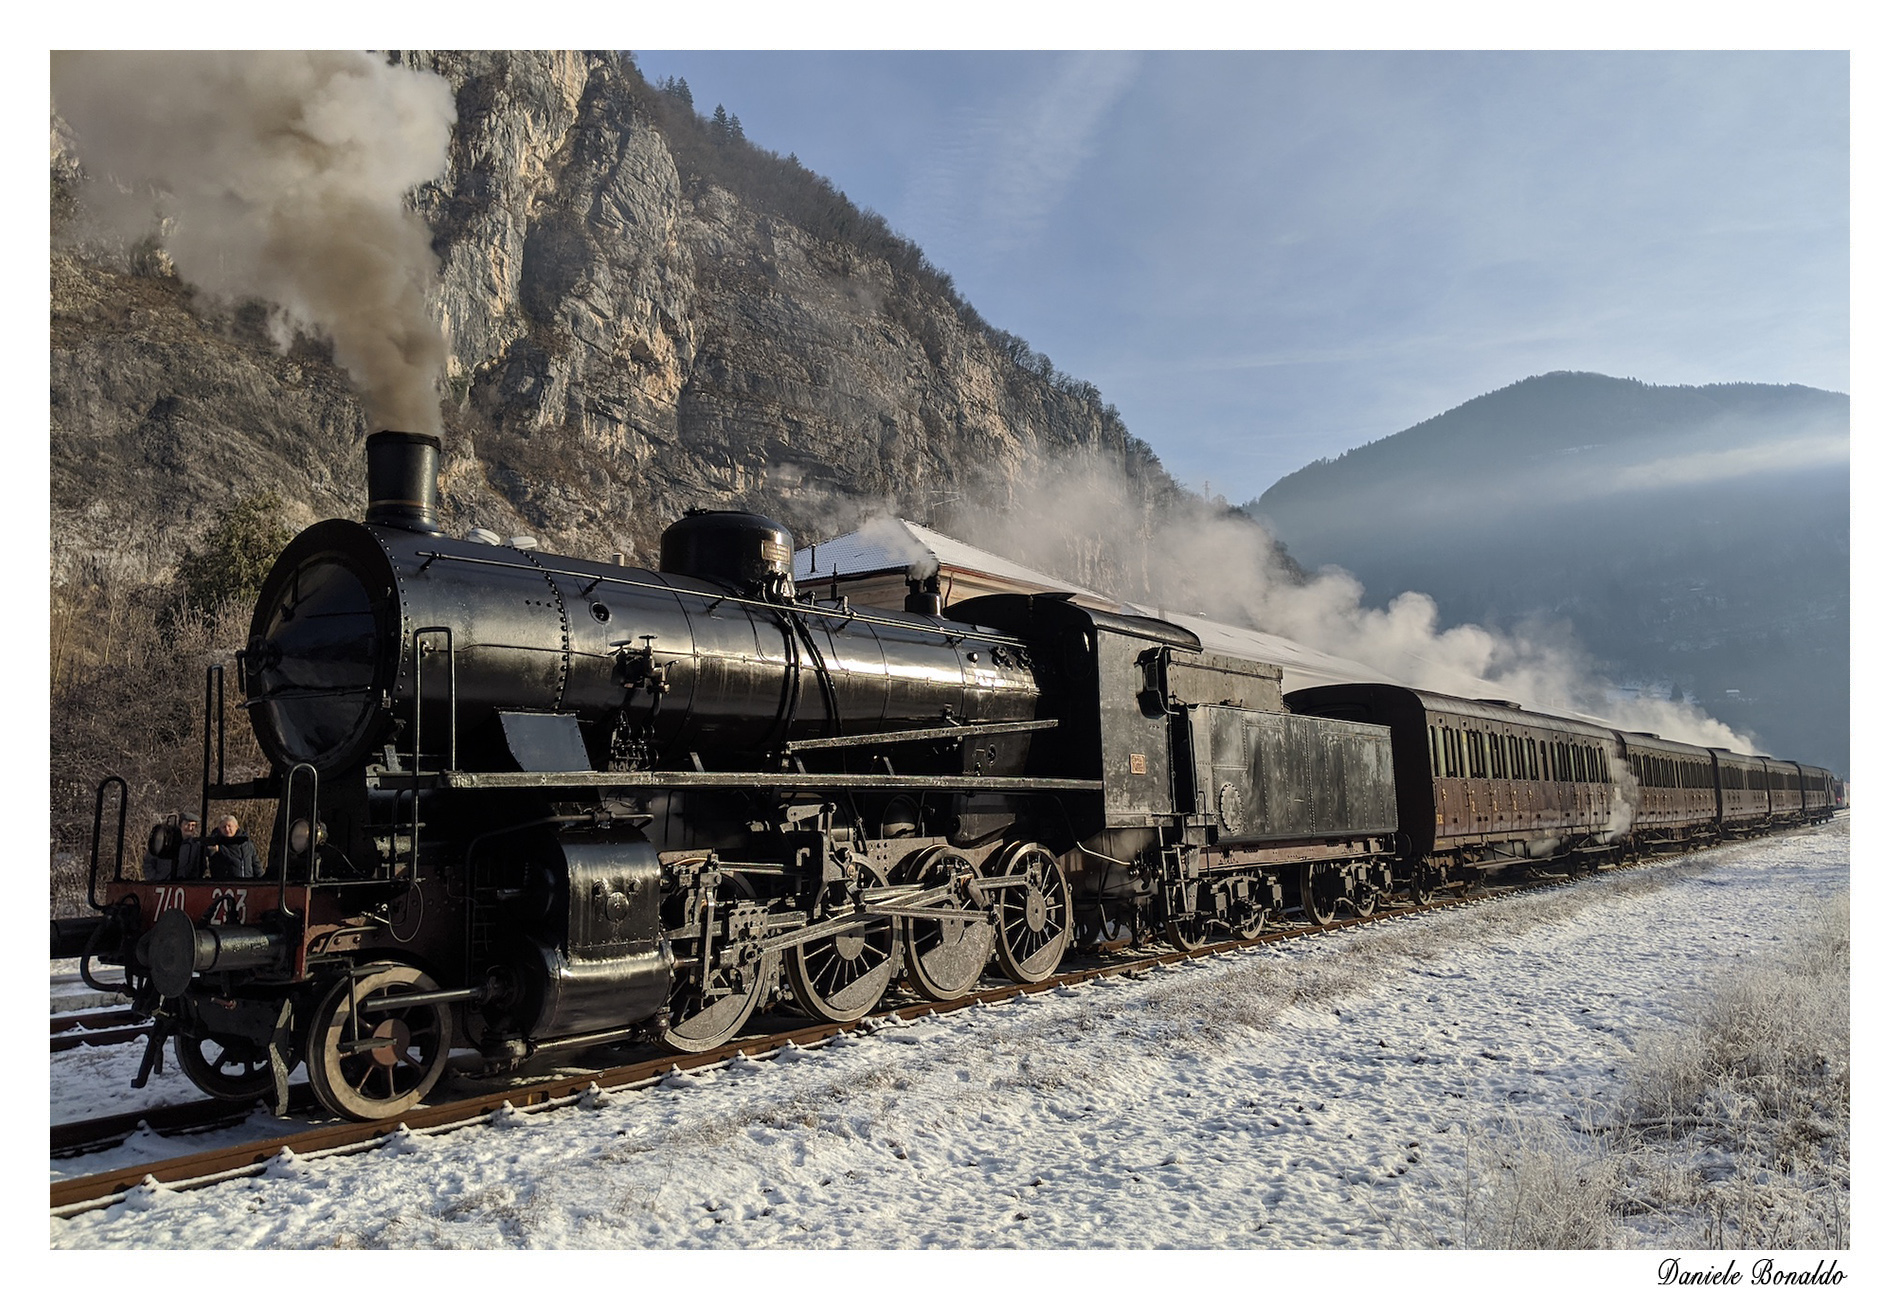
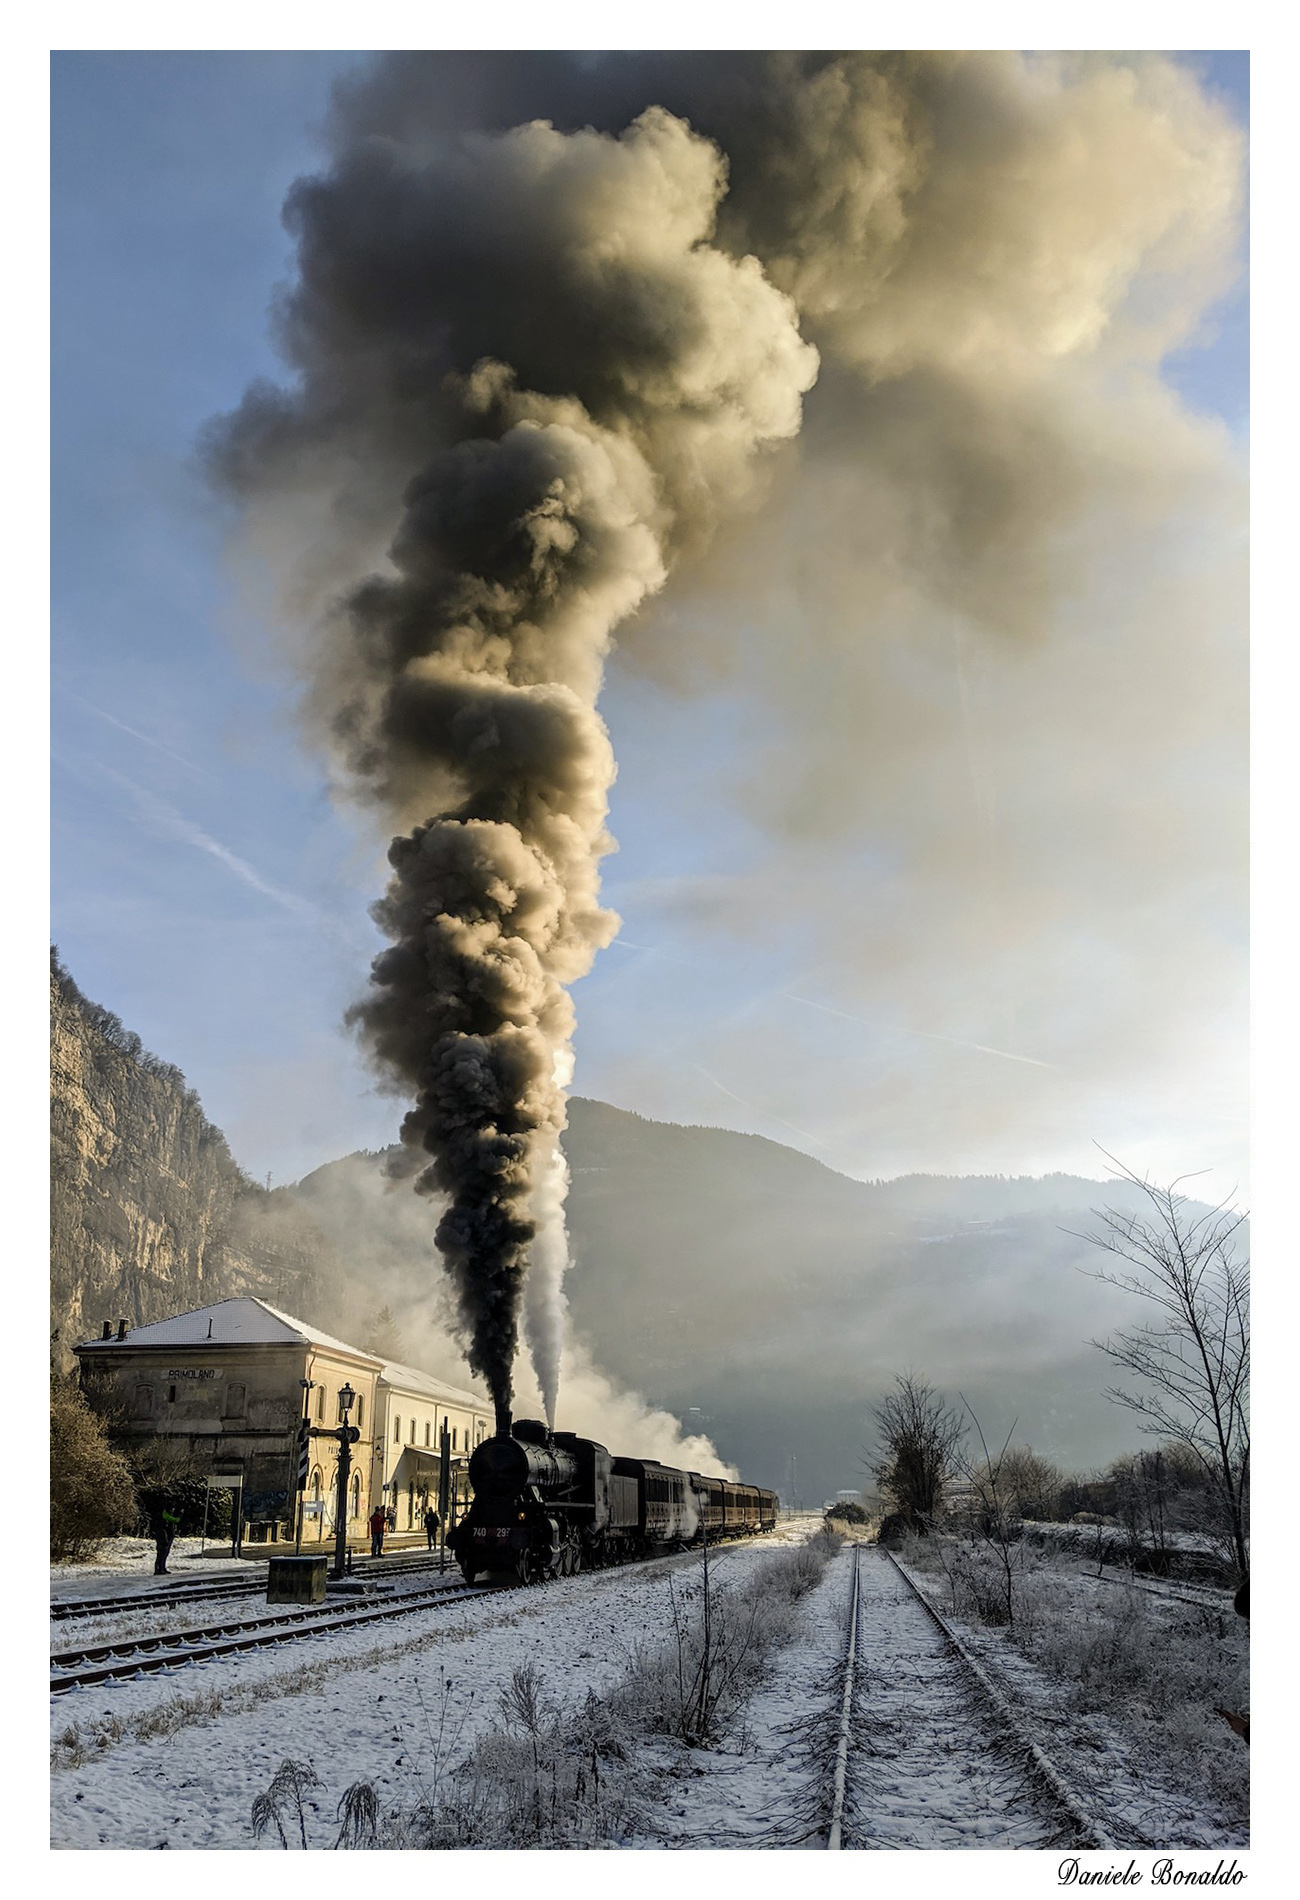
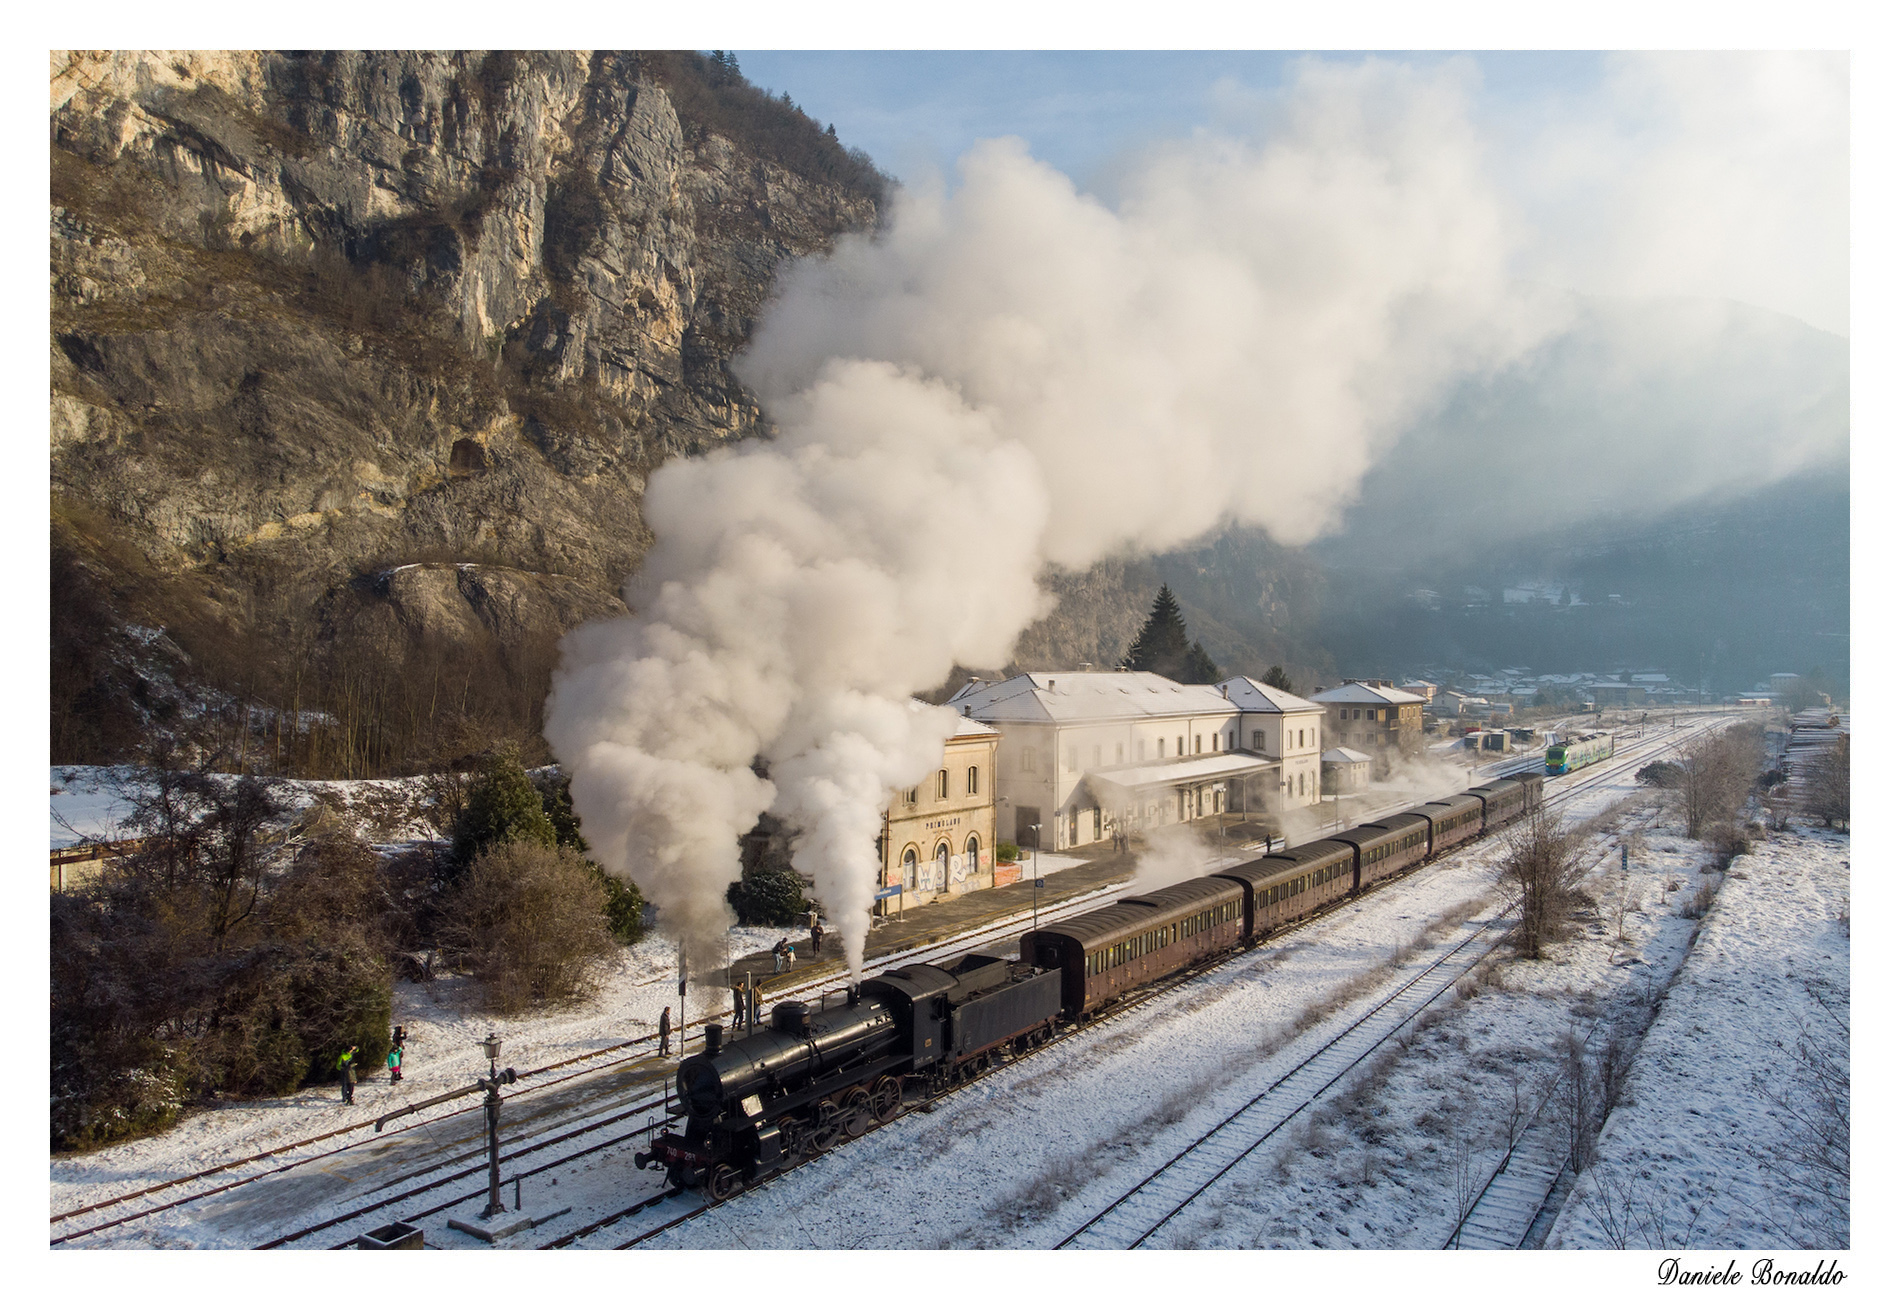
<p>I never managed to see it in real life, until a few weeks ago, when I got to film it in a winter, snowy morning while it was running through a valley in the Alps. Here it is a video I shot with my drone and a few pictures from the day.</p>

<hr />

<iframe width="1905" height="928" src="https://www.youtube.com/embed/FccsOBEvJNo" frameborder="0" allow="accelerometer; autoplay; encrypted-media; gyroscope; picture-in-picture" allowfullscreen=""></iframe>

<figure class="third ">
  
    
      <a href="/assets/images/steam_train/1.jpg" title="The train with its vintage cars'">
          <img src="/assets/images/steam_train/1_small.jpg" alt="" />
      </a>


      <a href="/assets/images/steam_train/2.jpg" title="Increasing the steam pressure, getting ready to leave the station">
          <img src="/assets/images/steam_train/2_small.jpg" alt="" />
      </a>


      <a href="/assets/images/steam_train/3.jpg" title="The train stopped at the Primolano train station">
          <img src="/assets/images/steam_train/3_small.jpg" alt="" />
      </a>


</figure>]]></content><author><name>Daniele Bonaldo</name></author><summary type="html"><![CDATA[A 100 years-old steam train running on a snowy, winter morning]]></summary></entry><entry><title type="html">Kotlin as scripting language</title><link href="https://www.danielebonaldo.com/kotlin-script/" rel="alternate" type="text/html" title="Kotlin as scripting language" /><published>2019-12-23T00:00:00+00:00</published><updated>2019-12-23T00:00:00+00:00</updated><id>https://www.danielebonaldo.com/kotlin-script</id><content type="html" xml:base="https://www.danielebonaldo.com/kotlin-script/"><![CDATA[<p>Kotlin is a very powerful language. It can be used to create complex mobile, desktop or even web applications, but not everybody knows that it can also be used to create simple and elegant scripts.</p>

<figure>
	<img src="/assets/images/kscript/teaser.jpg" />
</figure>

<p>A Kotlin script is a simple Kotlin snippet, without the need of the <code class="language-plaintext highlighter-rouge">main</code> function that you would need in a typical program. That function is actually implicit, and all the commands in the file are executed as if they were the <code class="language-plaintext highlighter-rouge">main</code> body.</p>

<p>The script file can be simply run invoking the kotlin compiler with the <code class="language-plaintext highlighter-rouge">-script</code> parameter.
The executed script can accept input arguments:</p>

<script src="https://gist.github.com/0588277417ff521bbb355550ab7618af.js?file=arguments.kts"> </script>

<p>and also make use of the Java and Kotlin stlib in order to access more powerful libraries:</p>

<script src="https://gist.github.com/0588277417ff521bbb355550ab7618af.js?file=dirsExplorer.kts"> </script>

<p>Of course using Kotlin also allows us to access other concepts of the language, like functions, recursion, classes or extensions, which can make our scripts even more readable and maintainable:</p>

<script src="https://gist.github.com/0588277417ff521bbb355550ab7618af.js?file=dirsExplorerRecursionExtensionFunction.kts"> </script>

<p>While all this is already a good start, we can greatly improve our scripting experience by using a third party open-source solution: <a href="https://github.com/holgerbrandl/kscript"><strong>Kscript</strong></a>.<br />
This tool adds a lot of niceties that make scripting with kotlin even more fast and powerful.</p>

<h2 id="invocation-modes">Invocation modes</h2>

<p>First of all kscript adds more ways of invoking a script. It is possible to run it by specifying the script file</p>

<div class="language-bash highlighter-rouge"><div class="highlight"><pre class="highlight"><code><span class="nv">$ </span>kscript helloScript.kts
</code></pre></div></div>

<p>or by specifying a URL containing the code of the script</p>

<div class="language-bash highlighter-rouge"><div class="highlight"><pre class="highlight"><code><span class="nv">$ </span>kscript https://gist.githubusercontent.com/danybony/.../kscriptUrl.kts
</code></pre></div></div>

<p>inlined</p>
<div class="language-bash highlighter-rouge"><div class="highlight"><pre class="highlight"><code><span class="nv">$ </span>kscript ‘println<span class="o">(</span>“Hello there”<span class="o">)</span>’
</code></pre></div></div>

<p>or by piping a Kotlin snippet into kscript and instruct it to read from stdin</p>
<div class="language-bash highlighter-rouge"><div class="highlight"><pre class="highlight"><code><span class="nv">$ </span><span class="nb">echo</span> <span class="s1">'
 println("Hello Kotlin.")
 '</span> |  kscript -
</code></pre></div></div>

<p>The URL input mode is particularly powerful in my opinion, as it allows to easily create a centralised repository of scripts that can be executed remotely on several machines and maintained in a single place.</p>

<p>kscript can act as interpreter for a script by just specifying it in the shebang line the Kotlin script:</p>

<script src="https://gist.github.com/0588277417ff521bbb355550ab7618af.js?file=interpreter.kts"> </script>

<p>Finally, kscript can also be used to deploy script as standalone binaries with the <code class="language-plaintext highlighter-rouge">--package</code> parameter:</p>

<div class="language-bash highlighter-rouge"><div class="highlight"><pre class="highlight"><code><span class="nv">$ </span> kscript <span class="nt">--package</span> helloScript.kts 
<span class="o">[</span>kscript] Packaging script <span class="s1">'helloScript'</span> into standalone executable...
 
<span class="nv">$ </span> ./helloScript
Hello world!
</code></pre></div></div>

<h2 id="caching">Caching</h2>

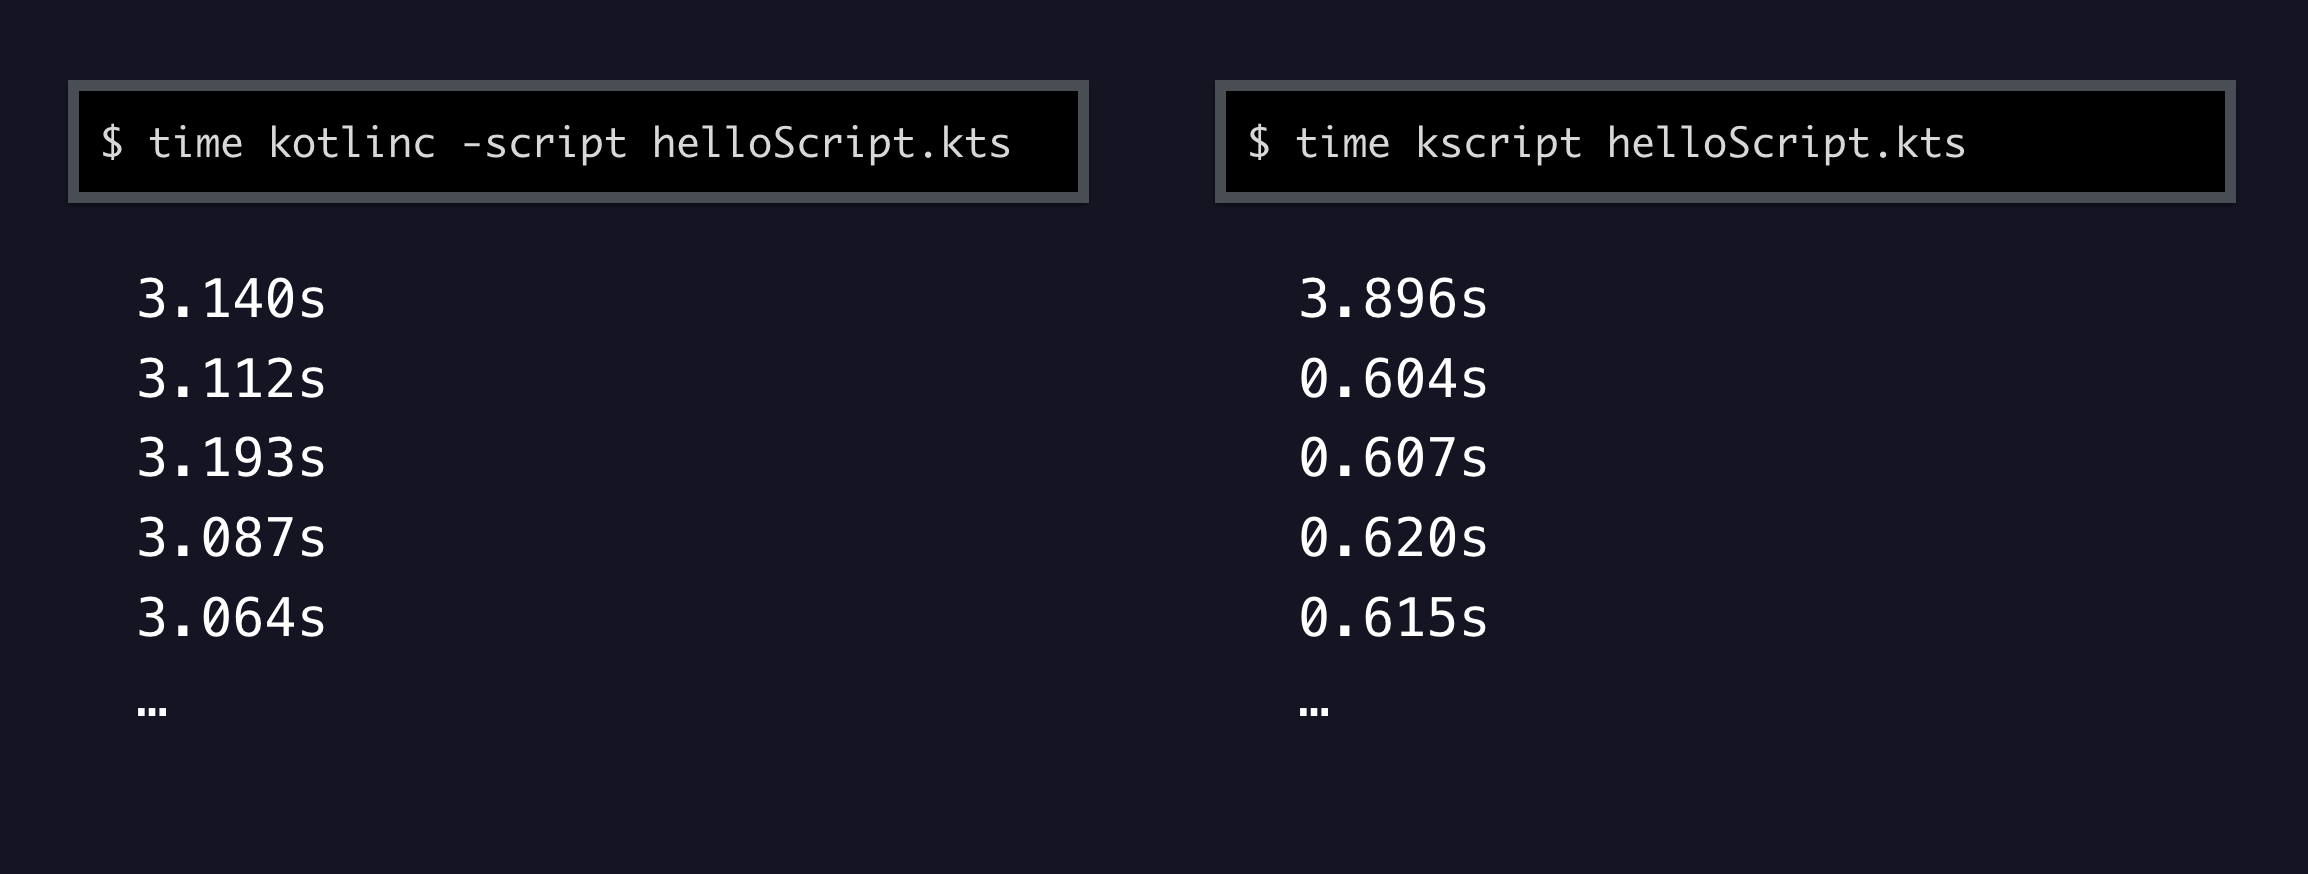
<p>Another great addition in kscript is the caching mechanism. Kotlin scripts are still compiled using <code class="language-plaintext highlighter-rouge">kotlinc</code> under the hood, but before doing that, kscript checks if the script changed from the last compilation (by hashing the content of the script). In that case a cached version of the script is immediately executed, without wasting time recompiling it. This has, as it’s easy to imagine, a very positive impact on execution times.</p>

<figure>
	<a href="/assets/images/kscript/cache.png"><img src="/assets/images/kscript/cache.png" alt="The impact of caching in sequent run of the same, unmodified, script" /></a>
</figure>

<h2 id="dependencies">Dependencies</h2>

<p>Third party libraries can be used in our scripts, including them as dependencies using directives or annotations, and specified with gradle-style dependencies locators, with <em>group id</em>, <em>artifact id</em> and <em>version</em>.
This allows us to access more powerful tools like, for example, coroutines:</p>

<script src="https://gist.github.com/0588277417ff521bbb355550ab7618af.js?file=coroutines.kts"> </script>

<p>Other local files (or different kotlin snippets from URL) can be also included as dependencies into the current script by using the <code class="language-plaintext highlighter-rouge">//INCLUDE</code> directive:</p>

<script src="https://gist.github.com/0588277417ff521bbb355550ab7618af.js?file=include.kts"> </script>

<h2 id="improved-editing">Improved editing</h2>

<p>kscript makes it super easy to edit kotlin scripts too.</p>

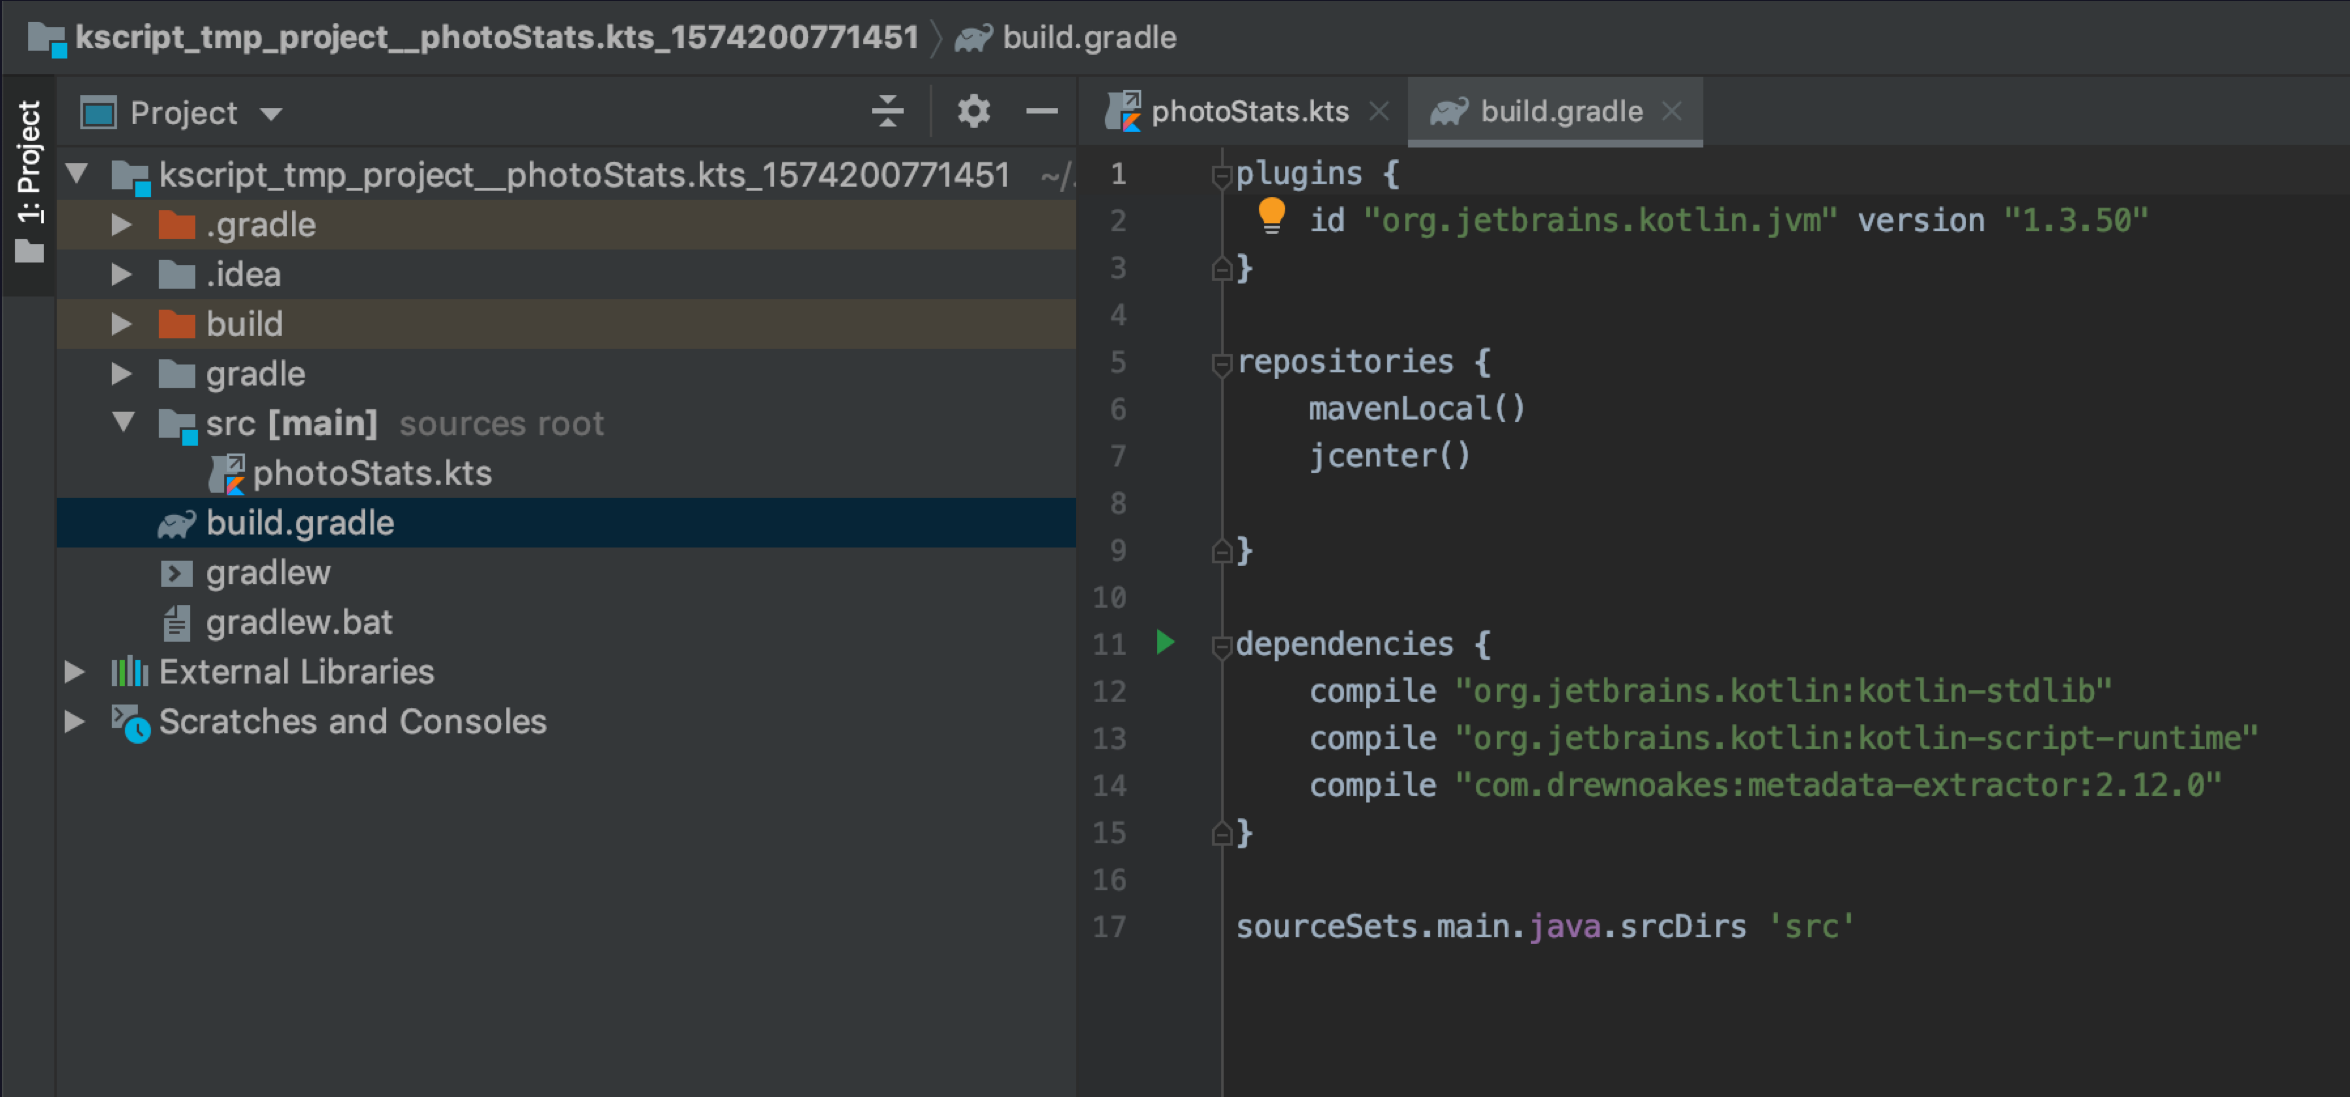
<p>By using the <code class="language-plaintext highlighter-rouge">--idea</code> parameter, it creates a temporary, minimal project and automatically opens it with IntelliJ IDEA. This project only contains the script file and a generated <code class="language-plaintext highlighter-rouge">gradle.build</code>, and after a Gradle sync it’s possible to immediately access all the powerful IDEA tools, including auto completion and sources from the included script dependencies.</p>

<figure>
	<a href="/assets/images/kscript/idea.png"><img src="/assets/images/kscript/idea.png" alt="The temporary IntelliJ IDEA project created by kscript" /></a>
</figure>

<hr />

<p>There are several very well known alternatives for creating scripts, but Kotlin is definitely the best I’ve tried. With the addition of kscript, its caching and third party dependencies, it’s very easy to quickly create powerful scripts that are highly maintainable too thanks to the use of the Kotlin language.</p>

<hr />

<p>In November 2019 I gave a talk about how to start with scripting in Kotlin at Devfest St Petersburg, Russia. Here you can find the slides for that presentation:</p>

<script async="" class="speakerdeck-embed" data-id="5192b24853c04315a3b17440f3e5085b" data-ratio="1.77777777777778" src="//speakerdeck.com/assets/embed.js"></script>]]></content><author><name>Daniele Bonaldo</name></author><summary type="html"><![CDATA[How to write elegant and highly maintainable scripts in Kotlin]]></summary></entry><entry><title type="html">Intro to Google Cast at DevFest Veneto 2019</title><link href="https://www.danielebonaldo.com/cast-intro-devfest-veneto-2019/" rel="alternate" type="text/html" title="Intro to Google Cast at DevFest Veneto 2019" /><published>2019-11-16T00:00:00+00:00</published><updated>2019-11-16T00:00:00+00:00</updated><id>https://www.danielebonaldo.com/cast-intro-devfest-veneto-2019</id><content type="html" xml:base="https://www.danielebonaldo.com/cast-intro-devfest-veneto-2019/"><![CDATA[<p>When we develop mobile apps or websites, our users can interact with them using a large selection of devices, but there is one that is often ignored: the TV. 
The television is the biggest screen in our users home, and thanks to Google Cast our apps can leverage these displays to show more content, without even the need for a dedicated app running on it.</p>

<hr />

<p>In this talk I gave at Devfest Veneto 2019, I showed the main concept behind Google Cast, seeing how it can be used to to create a more central, prominent space for the most important content of your service.</p>

<script async="" class="speakerdeck-embed" data-id="b8ccbe4ae1c940a6829144a175fe2841" data-ratio="1.77777777777778" src="//speakerdeck.com/assets/embed.js"></script>

<hr />

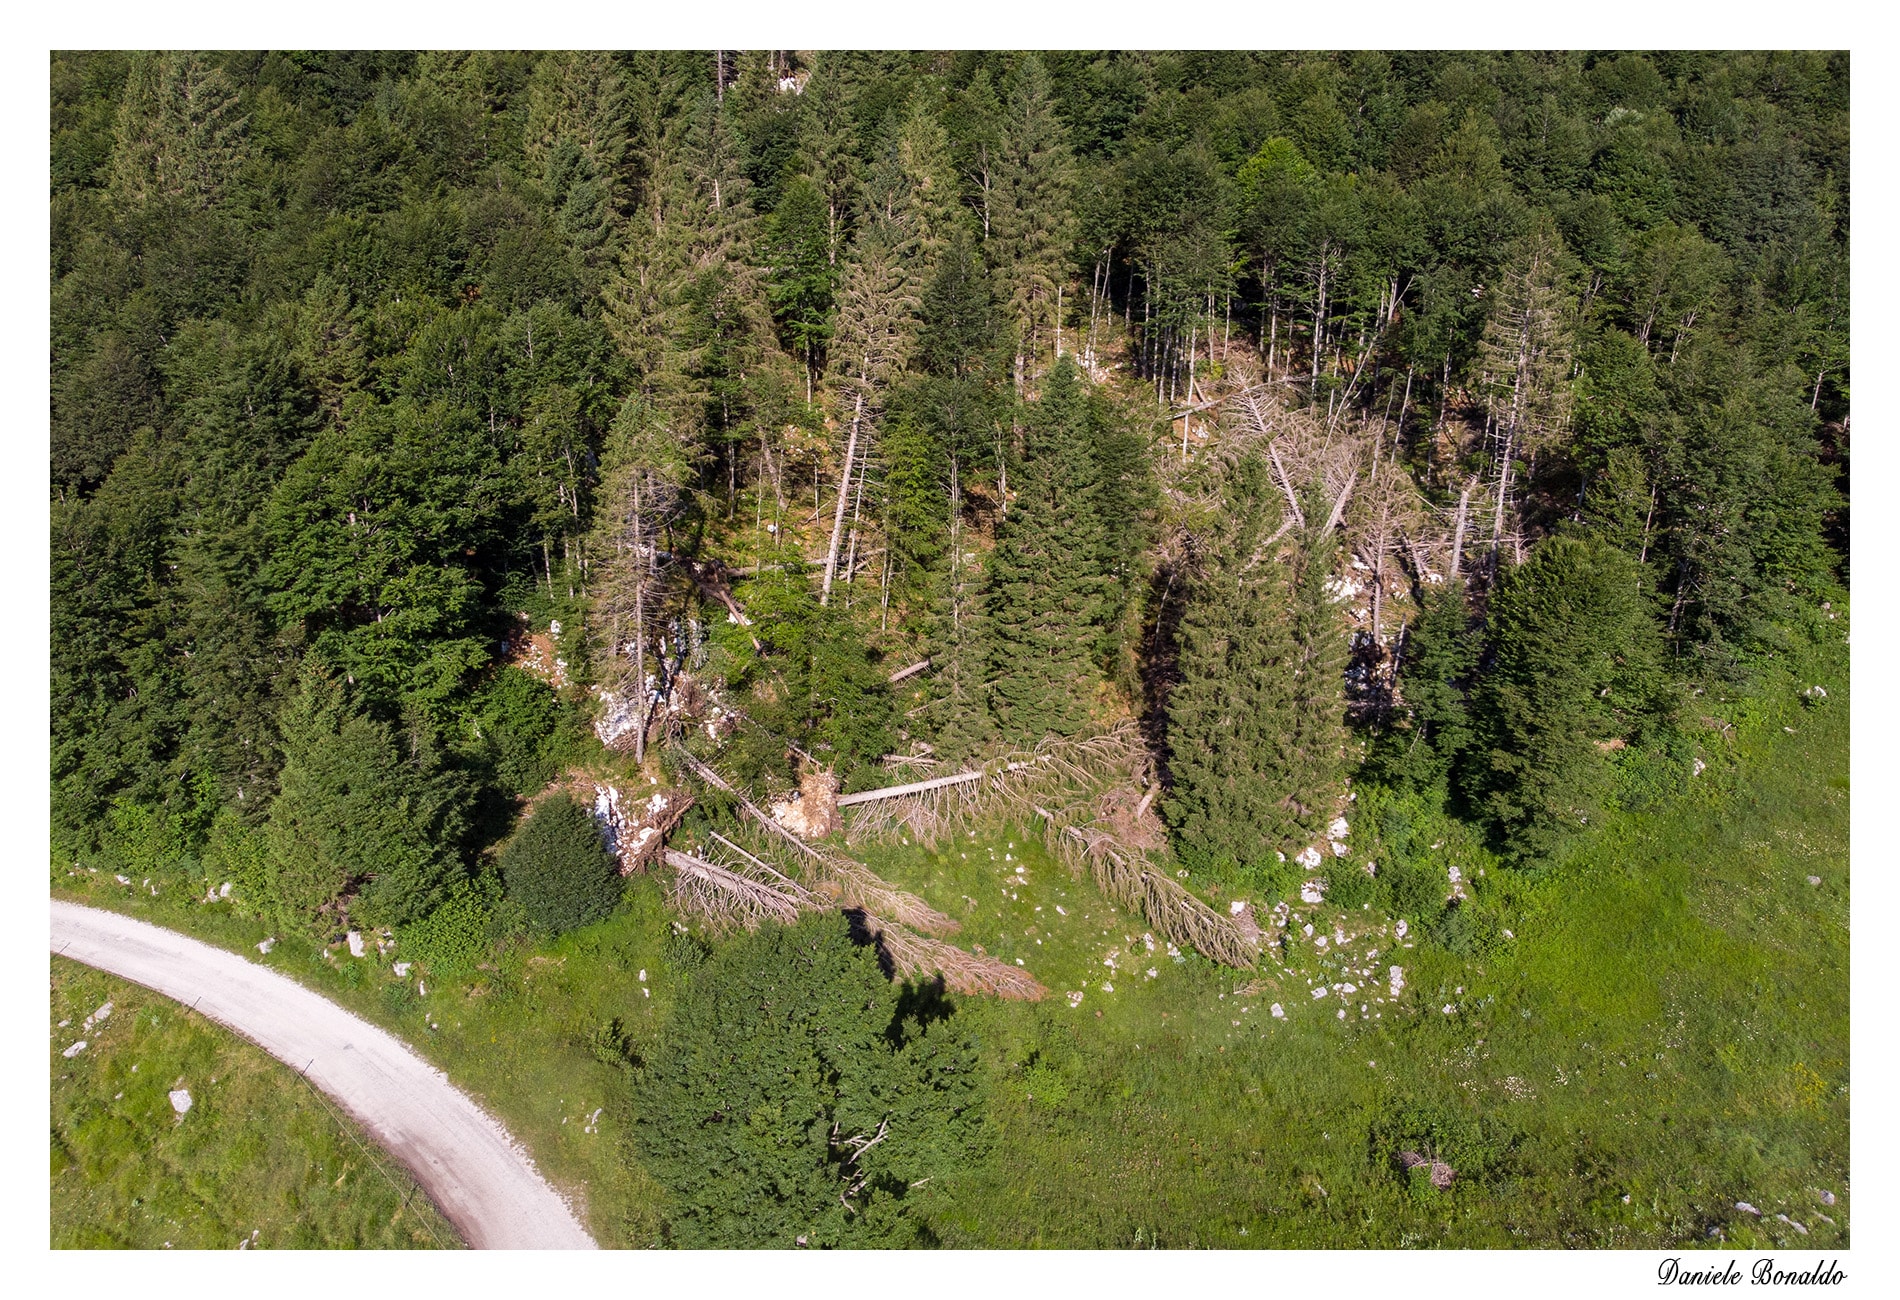
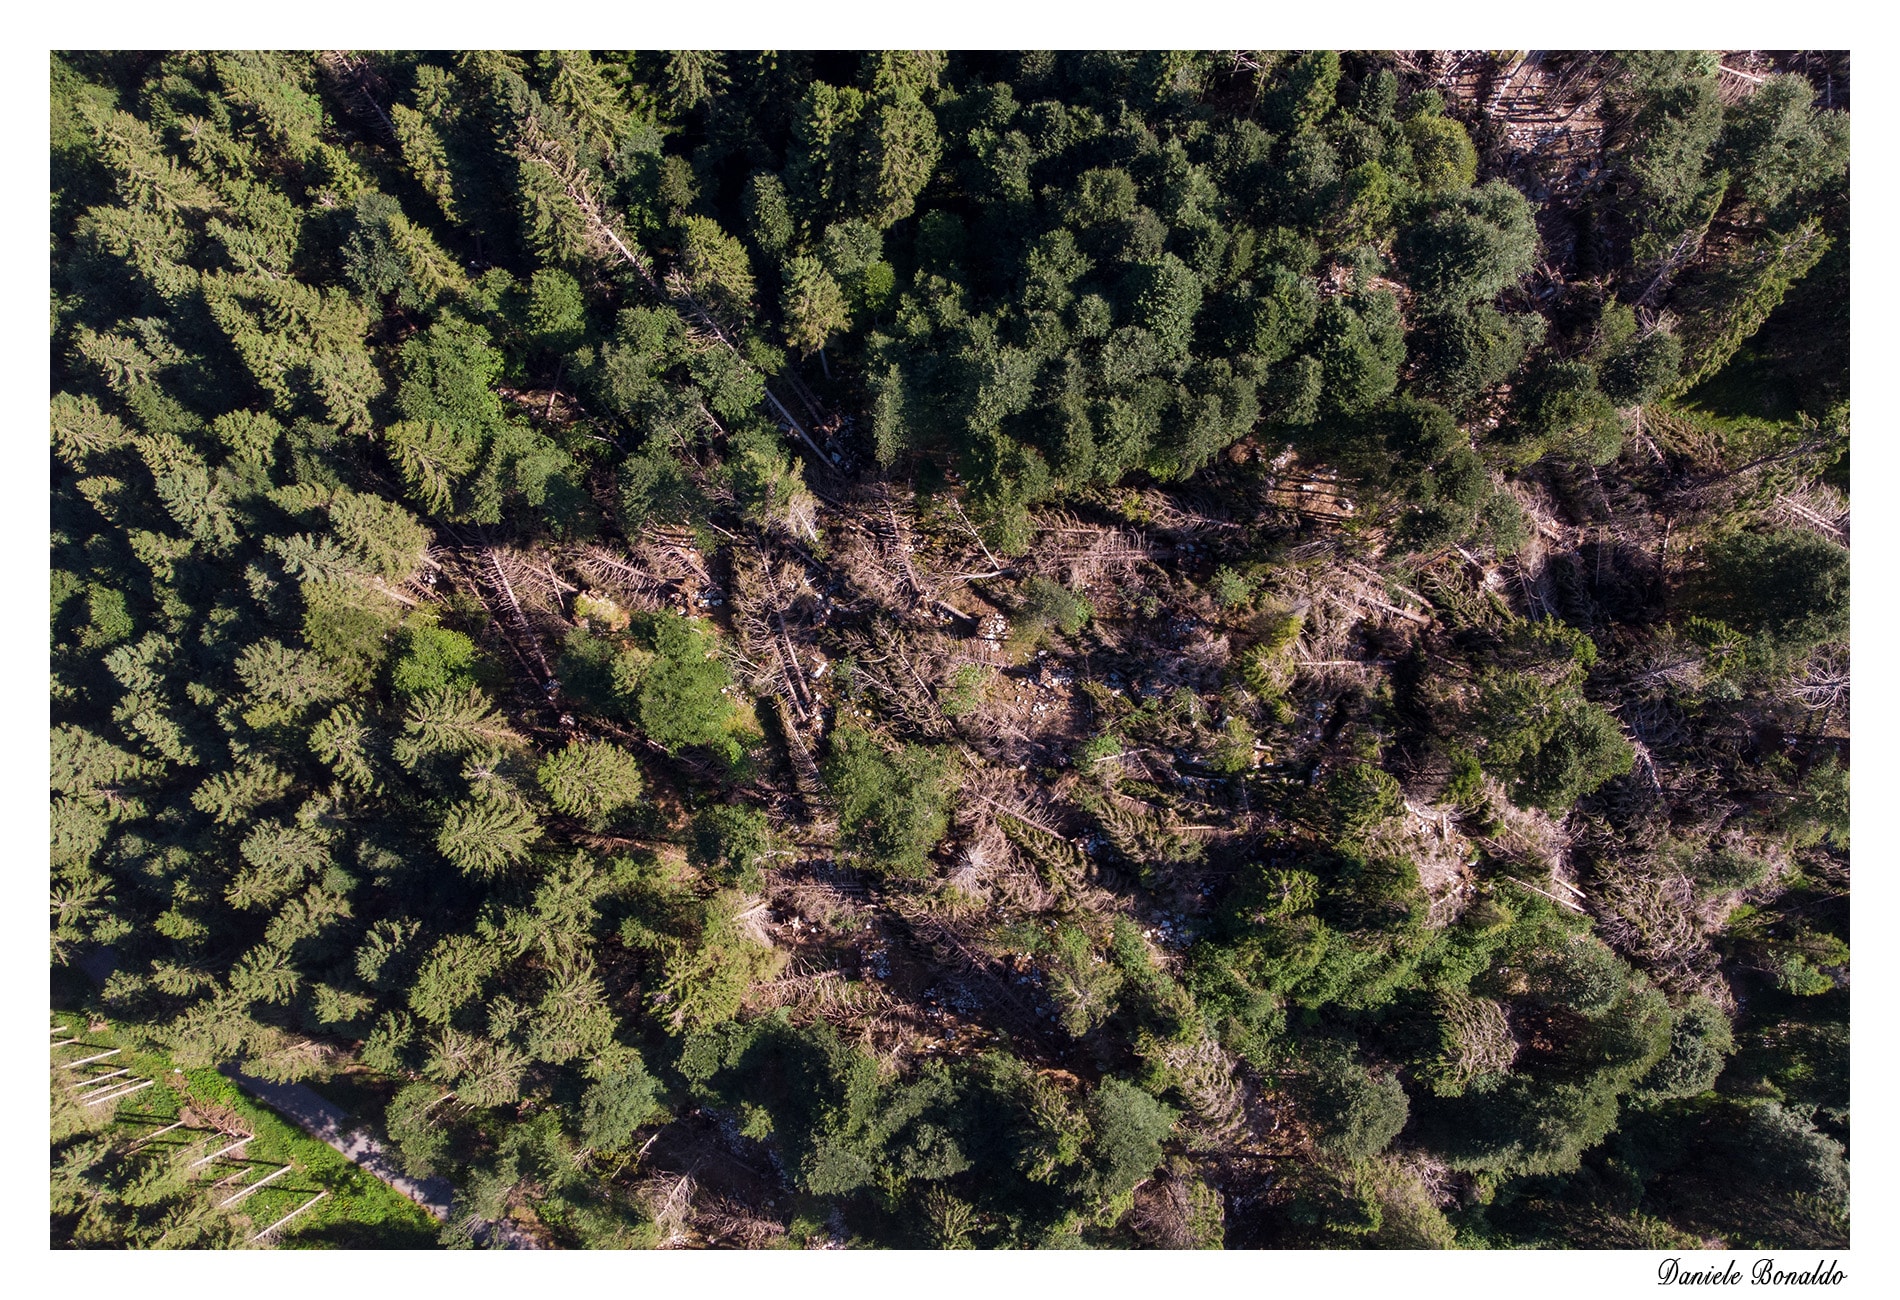
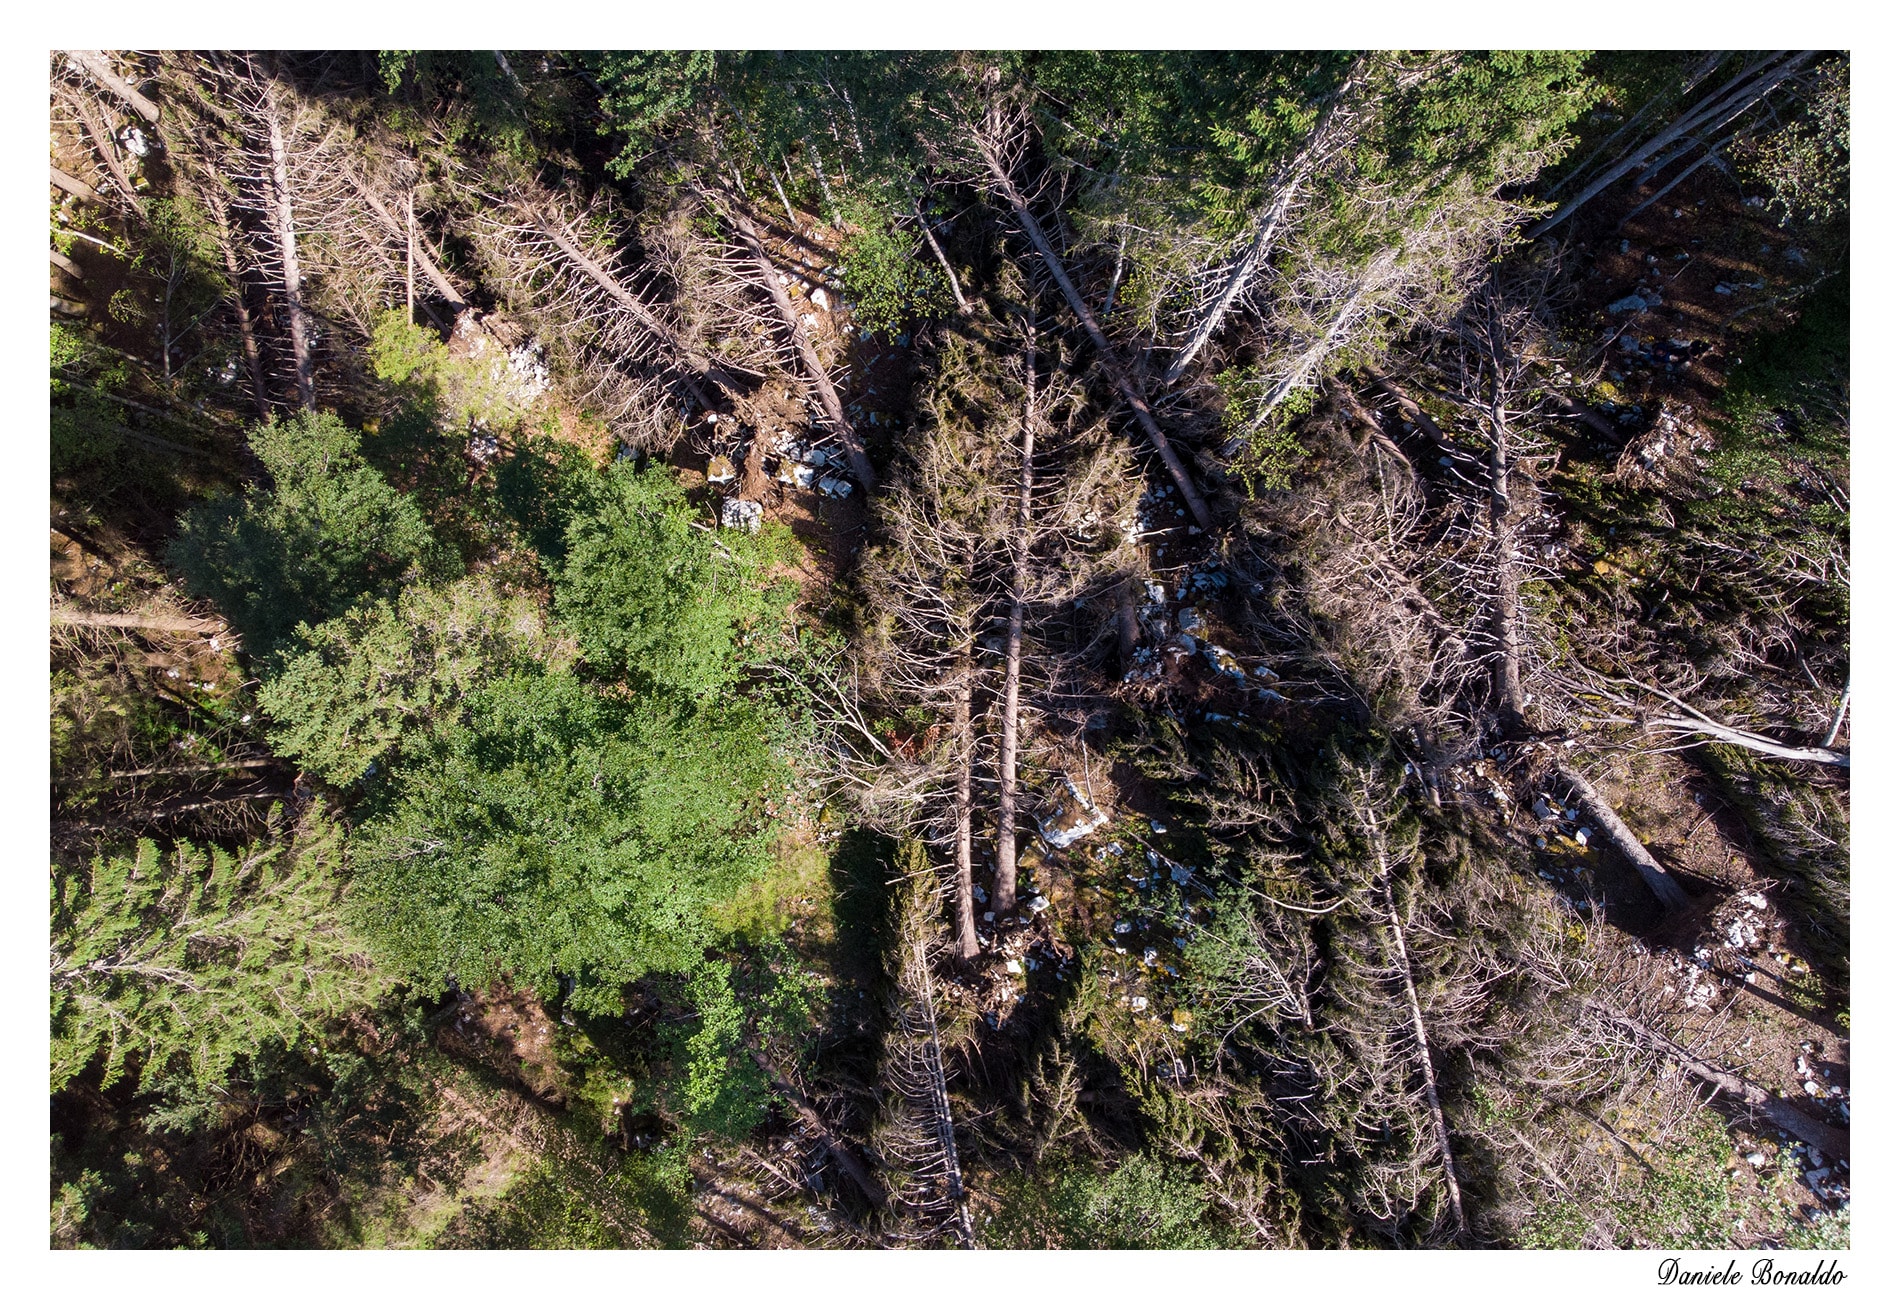
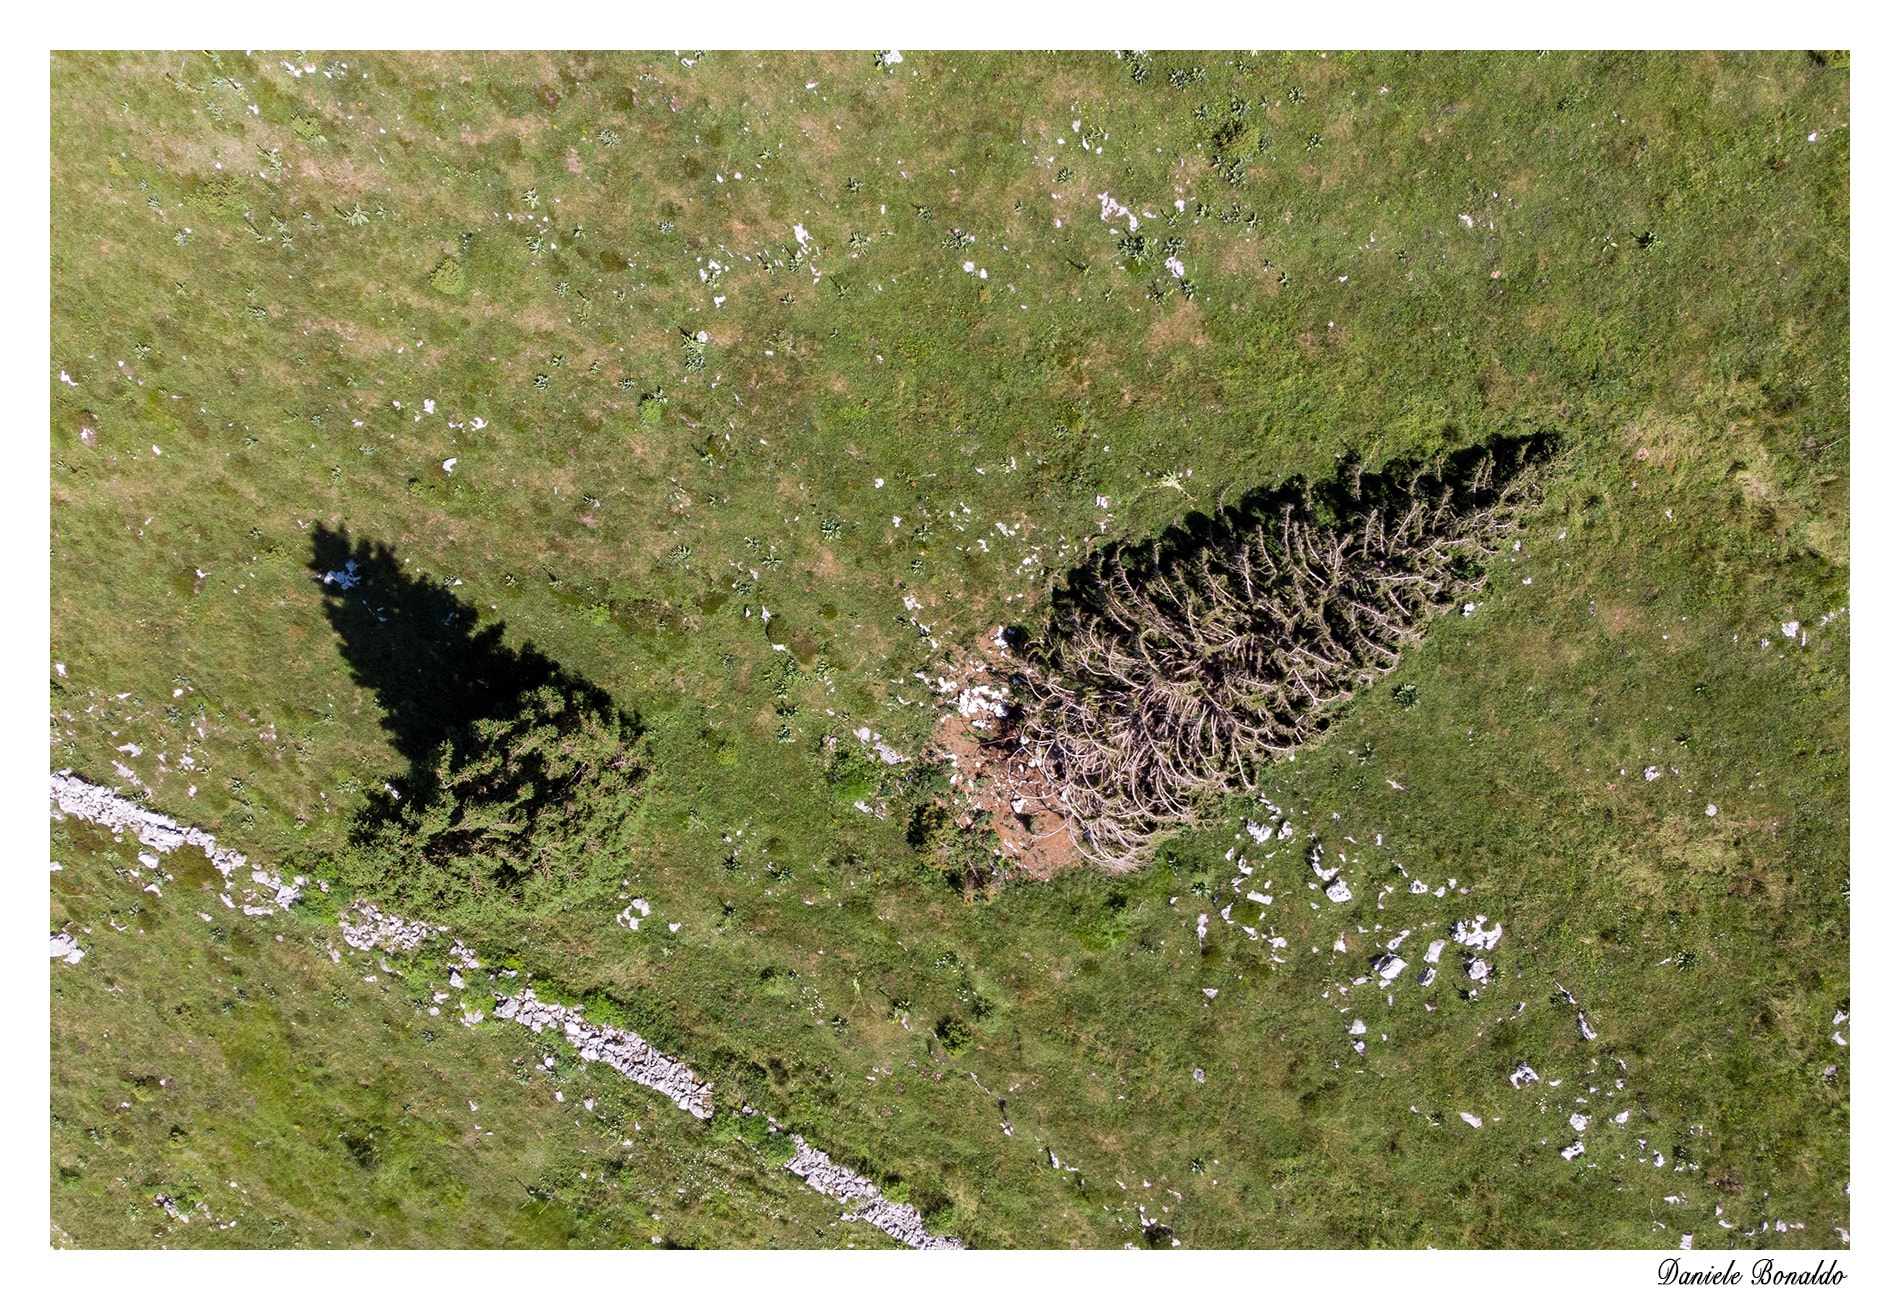
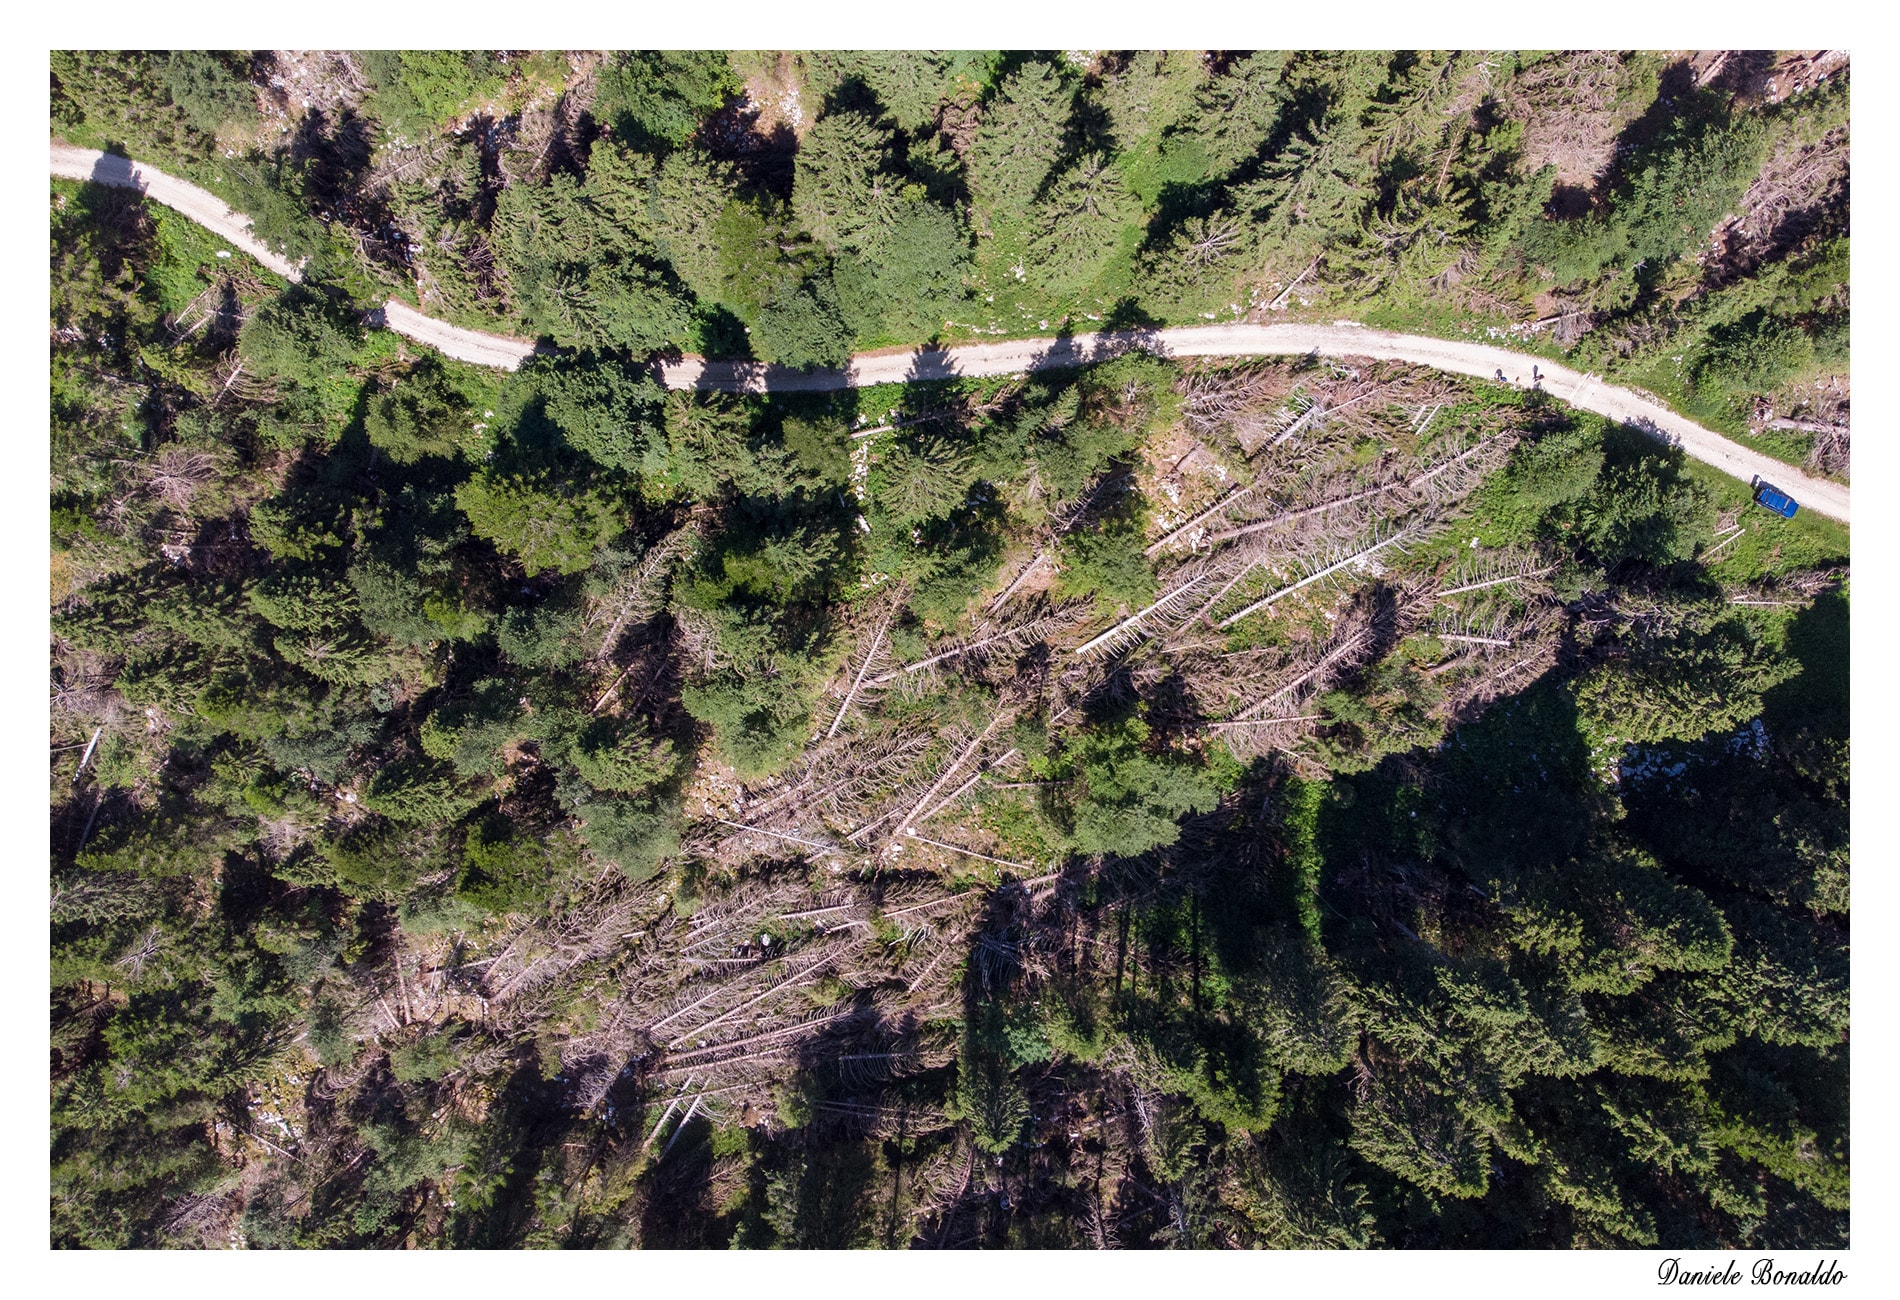
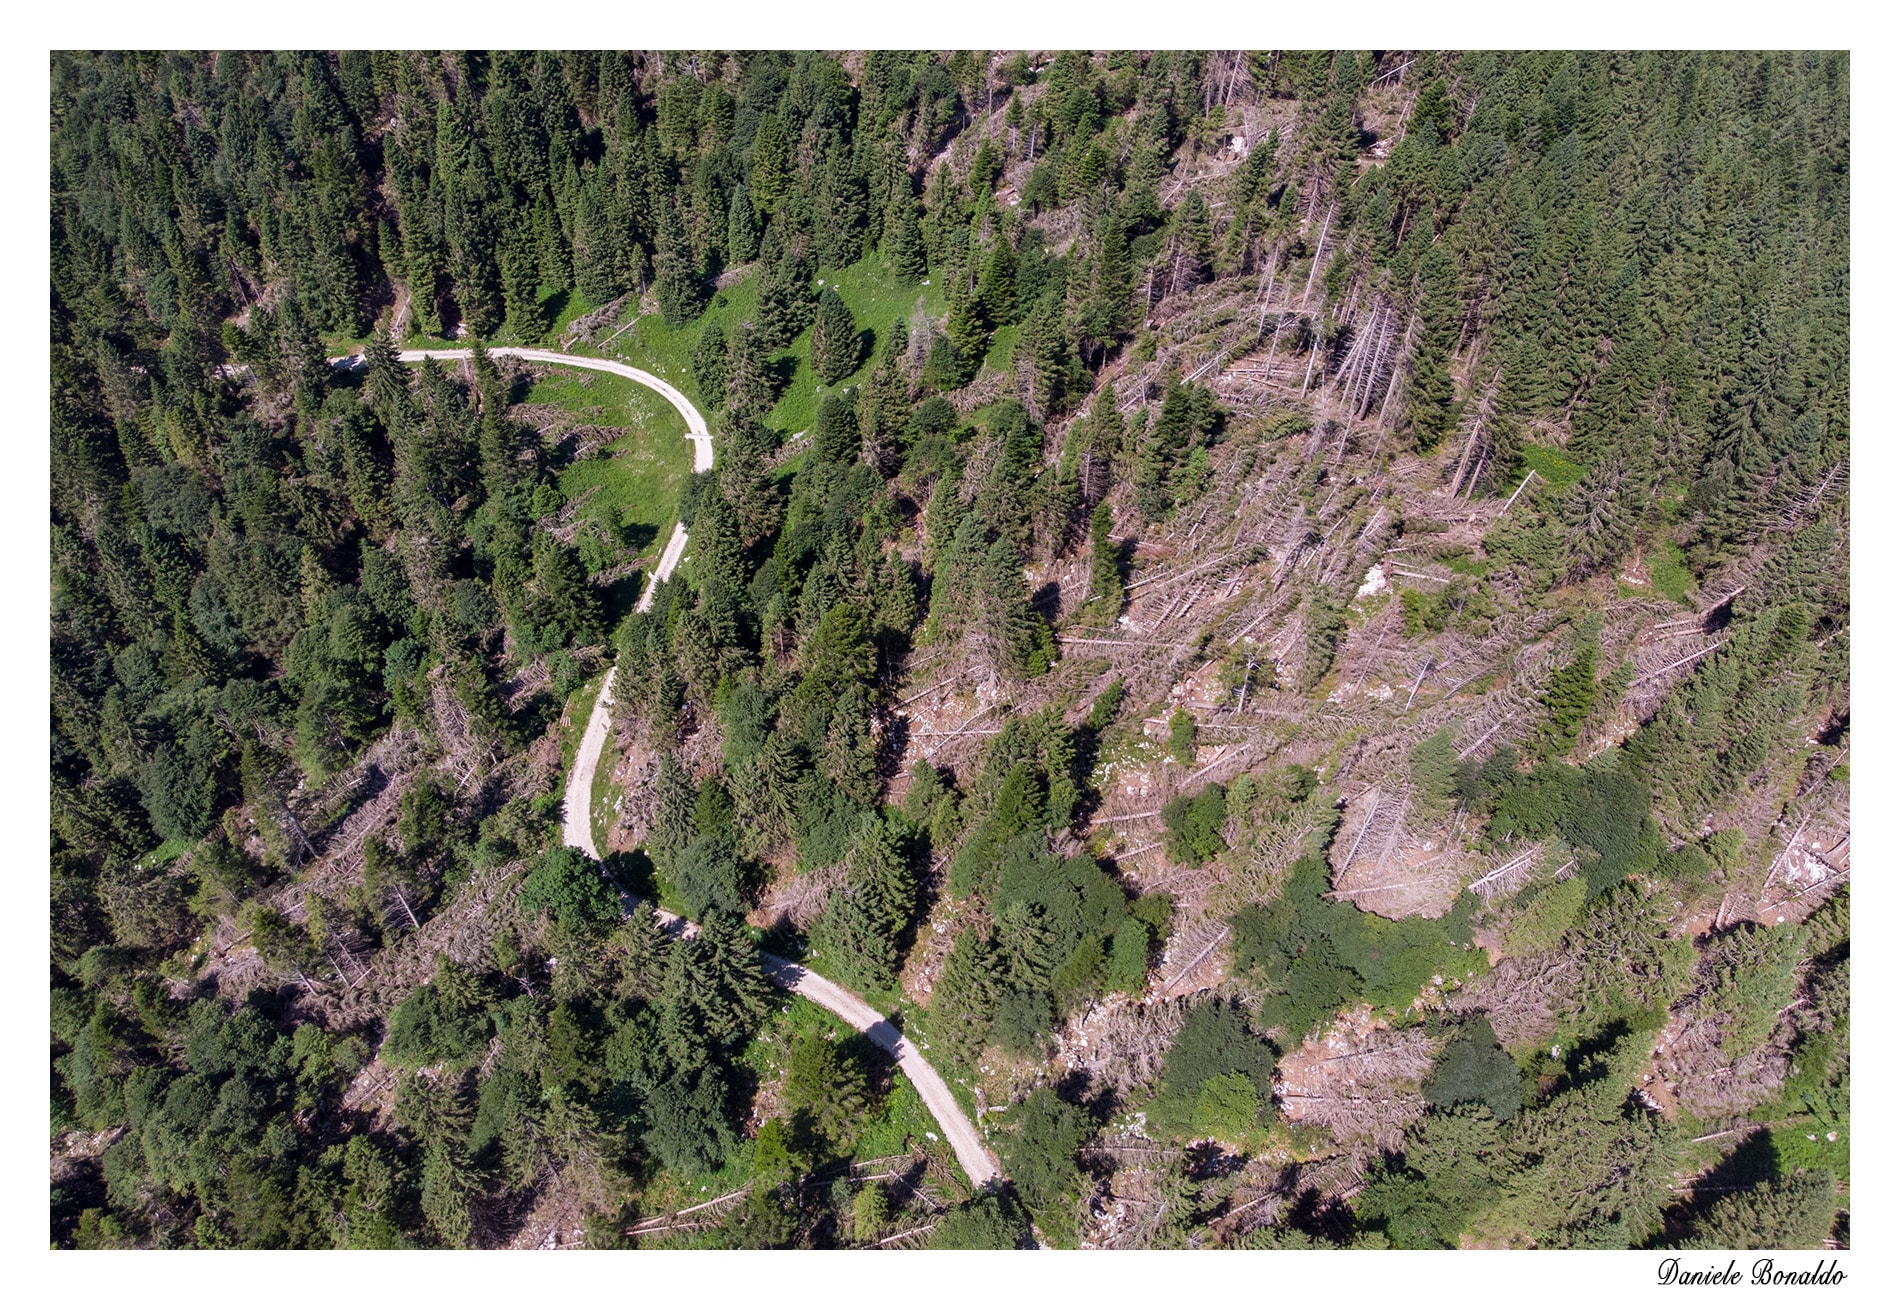
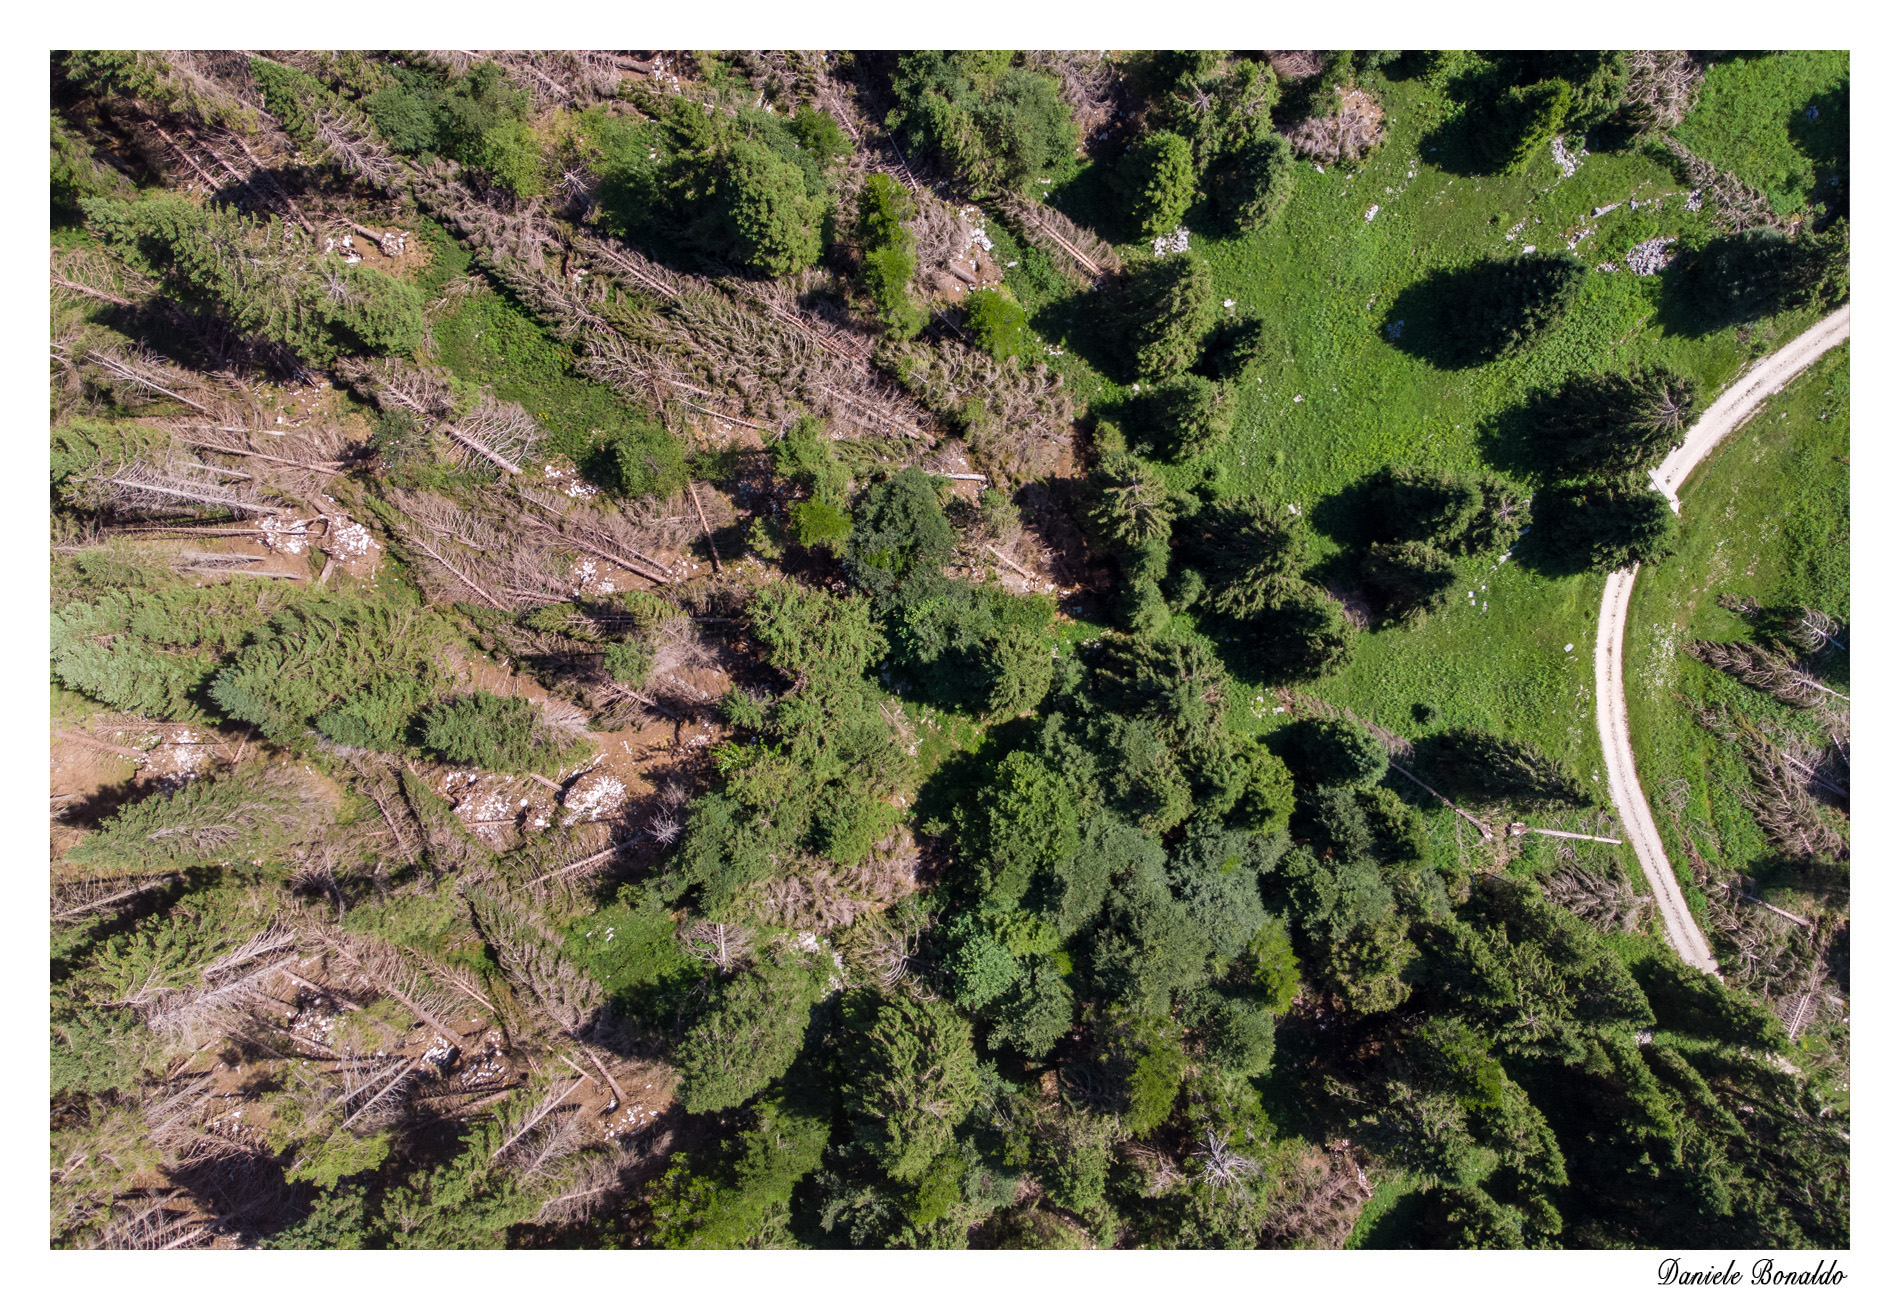
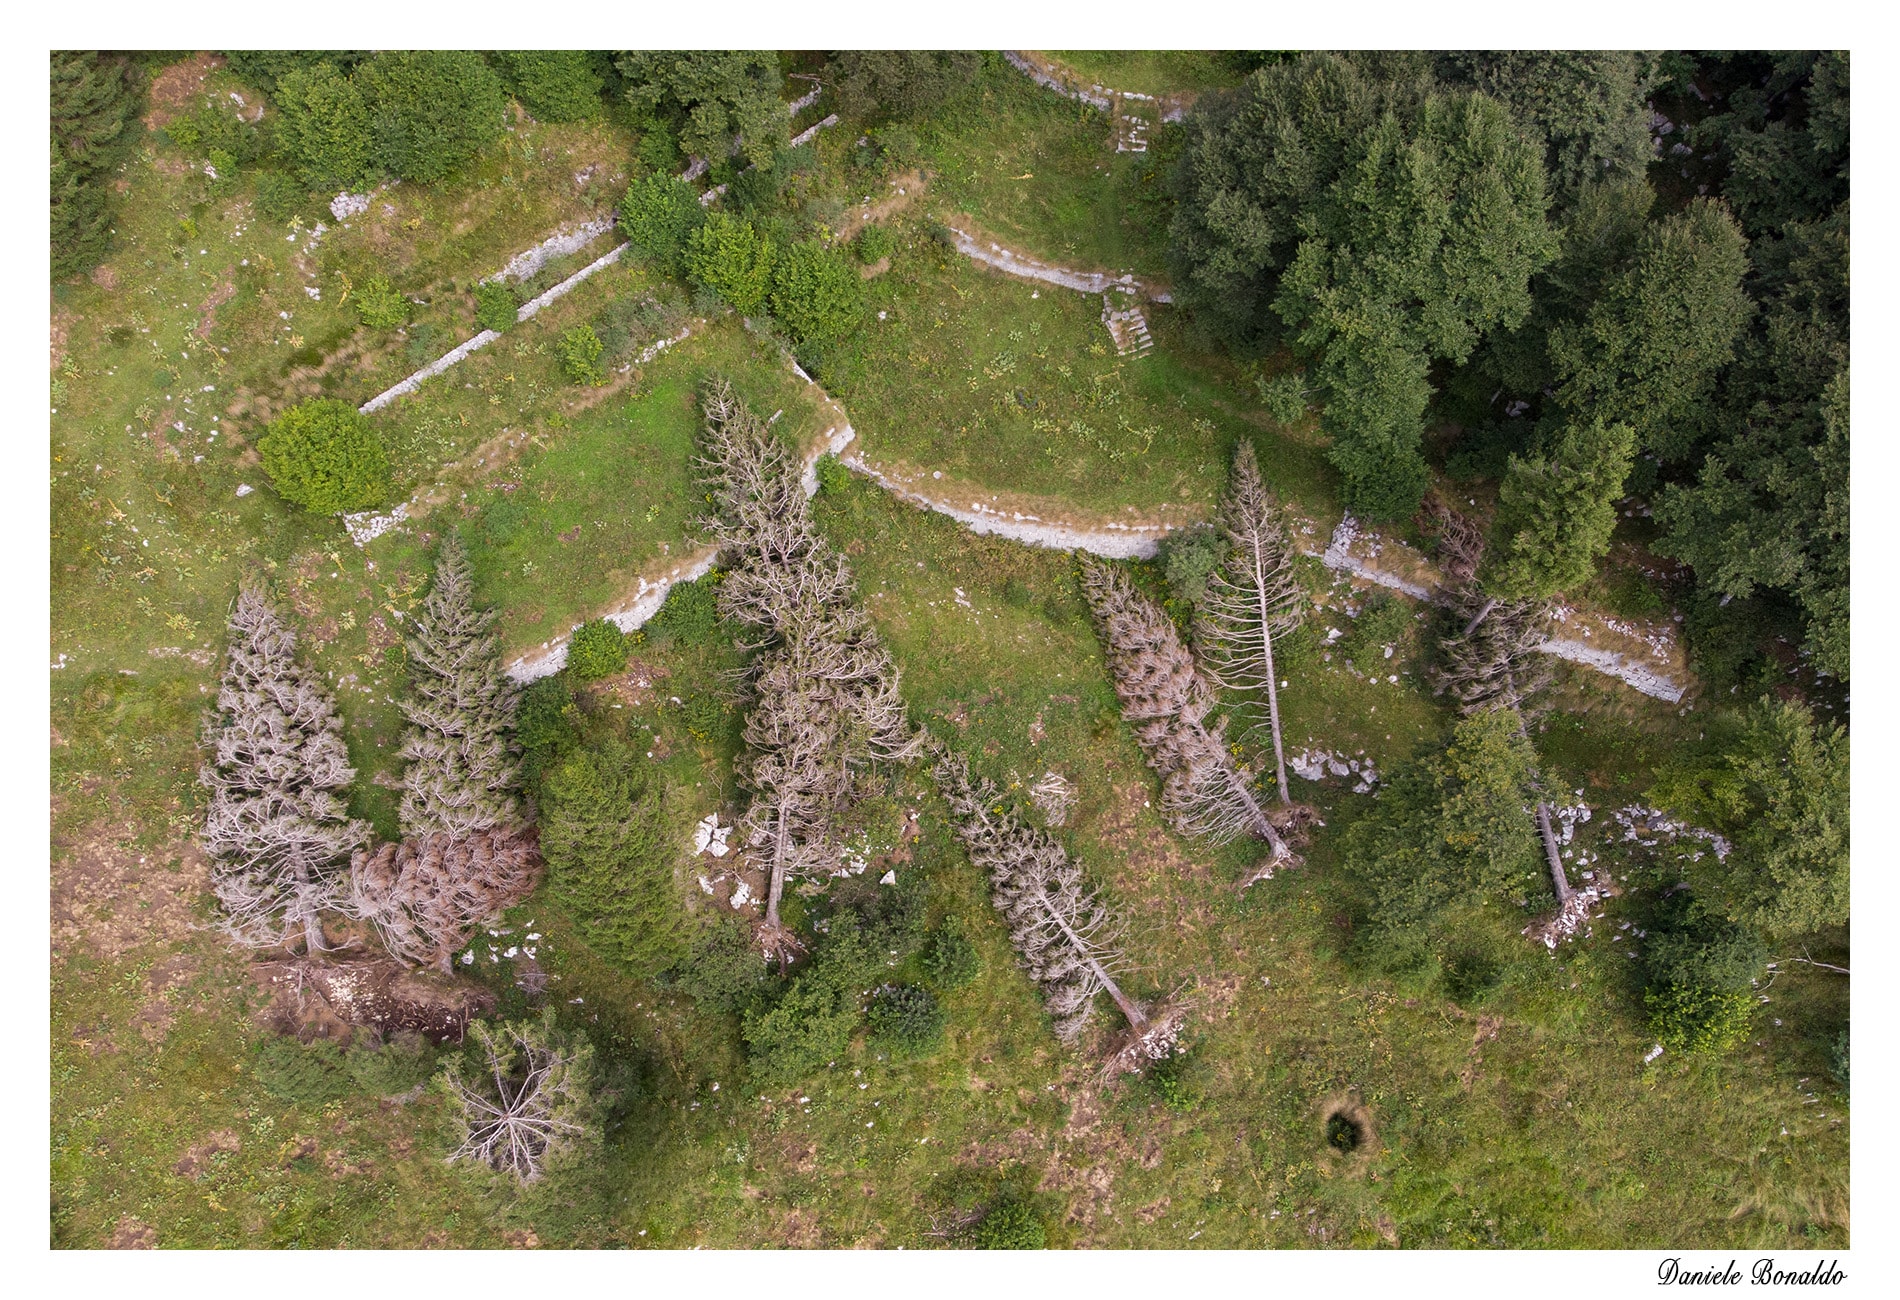
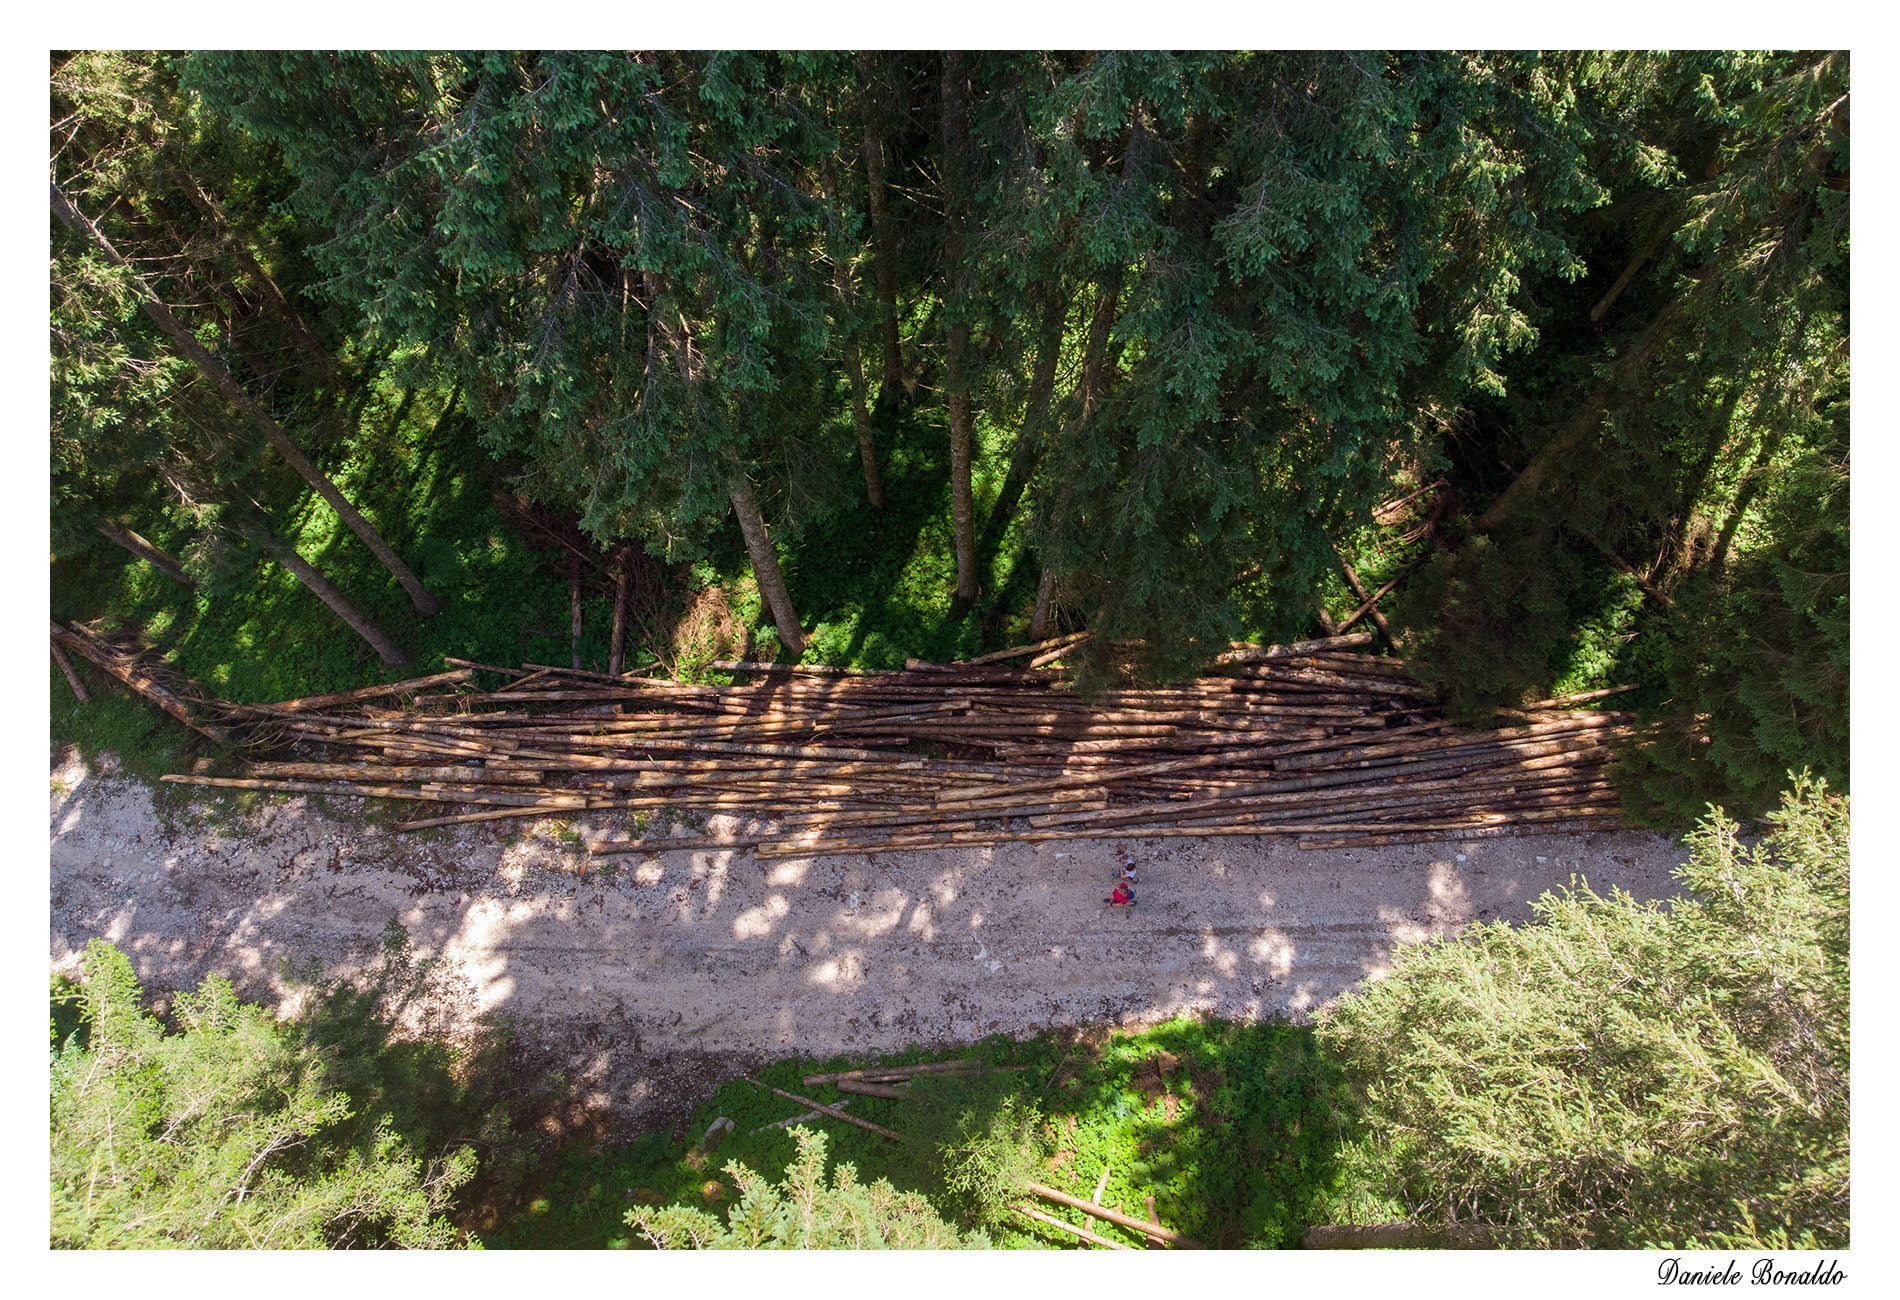
<iframe width="560" height="315" src="https://www.youtube.com/embed/uI8DhafiINs?list=PL0bBHyAilexzBdvHookPcPZNMceciAaZf" frameborder="0" allow="accelerometer; autoplay; encrypted-media; gyroscope; picture-in-picture" allowfullscreen=""></iframe>]]></content><author><name>Daniele Bonaldo</name></author><summary type="html"><![CDATA[Enhance your existing app or website and show content straight to the user TV with Google Cast]]></summary></entry><entry><title type="html">Photo exhibition: the Vaia storm</title><link href="https://www.danielebonaldo.com/vaia-photo-exhibition-caltrano/" rel="alternate" type="text/html" title="Photo exhibition: the Vaia storm" /><published>2019-10-14T00:00:00+00:00</published><updated>2019-10-14T00:00:00+00:00</updated><id>https://www.danielebonaldo.com/vaia-photo-exhibition-caltrano</id><content type="html" xml:base="https://www.danielebonaldo.com/vaia-photo-exhibition-caltrano/"><![CDATA[<p>In October 2018, the storm Vaia caused considerable damages to the Italian forests, especially in the northeast of Italy. The strong  wind, in just one day knocked down thousands and thousands of trees, with an estimate of about eight million cubic meters of wood.</p>

<p>My hometown Caltrano were hit too, even if in a minor measure, with some areas of the town mountain wood flattened by the storm.
To remember this event I decided to capture this through the different point of view of my drone. The vantage point this tool provided, allowed me to give some context to the different places where the forest had been most affected by the fury of the wind.</p>

<p>The resulting pictures were exposed in an exhibition in Caltrano, Italy, the 13th of October 2019.</p>

<hr />

<figure class="third ">
  
    
      <a href="/assets/images/vaia/1.jpg" title="Busa del serpe, Malga Pau'">
          <img src="/assets/images/vaia/1_small.jpg" alt="" />
      </a>


      <a href="/assets/images/vaia/2.jpg" title="Cima la Pianeta, 1465m above sea level">
          <img src="/assets/images/vaia/2_small.jpg" alt="" />
      </a>


      <a href="/assets/images/vaia/3.jpg" title="Fallen. Costo Merli, Lovarezze">
          <img src="/assets/images/vaia/3_small.jpg" alt="" />
      </a>


      <a href="/assets/images/vaia/4.jpg" title="One still standing, one fallen. Foraoro">
          <img src="/assets/images/vaia/4_small.jpg" alt="" />
      </a>


      <a href="/assets/images/vaia/5.jpg" title="Cima Fonte">
          <img src="/assets/images/vaia/5_small.jpg" alt="" />
      </a>


      <a href="/assets/images/vaia/6.jpg" title="Zona Campaniletto, Cima Fonte">
          <img src="/assets/images/vaia/6_small.jpg" alt="" />
      </a>


      <a href="/assets/images/vaia/7.jpg" title="Zona Campaniletto, Cima Fonte">
          <img src="/assets/images/vaia/7_small.jpg" alt="" />
      </a>


      <a href="/assets/images/vaia/8.jpg" title="Fallen trees above WWI remains. Piazzola del Generale, Pra' Vasaro">
          <img src="/assets/images/vaia/8_small.jpg" alt="" />
      </a>


      <a href="/assets/images/vaia/9.jpg" title="Not everything is lost. Some recovered logs, Val di Zovolongo">
          <img src="/assets/images/vaia/9_small.jpg" alt="" />
      </a>


</figure>]]></content><author><name>Daniele Bonaldo</name></author><summary type="html"><![CDATA[A collection of aerial photos I took in the woods and presented at a photo exhibition in my hometown, Caltrano]]></summary></entry><entry><title type="html">The making of an Android library: Download Manager v2</title><link href="https://www.danielebonaldo.com/download-manager-droidcon-italy/" rel="alternate" type="text/html" title="The making of an Android library: Download Manager v2" /><published>2019-04-05T00:00:00+00:00</published><updated>2019-04-05T00:00:00+00:00</updated><id>https://www.danielebonaldo.com/download-manager-droidcon-italy</id><content type="html" xml:base="https://www.danielebonaldo.com/download-manager-droidcon-italy/"><![CDATA[<p>Android allows developers to add download functionality to their apps, but if you want to extend that behaviour, or customise it to your liking — that’s not easy. That’s why at Novoda we created an improved version of the Download Manager. We started forking the original AOSP version and added several features on top of it, like the ability to download to internal storage or batching of multiple files. The original architecture was not very maintainable in the long therm though, so we decided to rewrite it from scratch as a brand new library and improve it even more!</p>

<p>To know more about which features we added to it and how flexible it is, you can find more details <a href="../download_manager_v2">in this blog post</a>.</p>

<hr />

<p>I gave a talk at Droidcon Turin 2019, where I explained some of the reasoning behind most of the choices we did while creating this new library, what we considered in order to make it maintainable and extensible, and how to be good citizens by making it open-source and allowing others to contribute to the project.</p>

<p>These are the slides for the presentation I gave:</p>

<script async="" class="speakerdeck-embed" data-id="ba866b52e93445329174b1de6b1cefd9" data-ratio="1.77777777777778" src="//speakerdeck.com/assets/embed.js"></script>

<p><br />
And this is the recording:</p>

<iframe width="560" height="315" src="https://www.youtube.com/embed/D6fnE0HZImo" frameborder="0" allow="accelerometer; autoplay; encrypted-media; gyroscope; picture-in-picture" allowfullscreen=""></iframe>]]></content><author><name>Daniele Bonaldo</name></author><summary type="html"><![CDATA[How to get started creating a library, what are the difficulties we encountered and finally how to publish and share the library between multiple projects]]></summary></entry><entry><title type="html">Intro to Flutter</title><link href="https://www.danielebonaldo.com/flutter-intro-pip/" rel="alternate" type="text/html" title="Intro to Flutter" /><published>2019-01-21T00:00:00+00:00</published><updated>2019-01-21T00:00:00+00:00</updated><id>https://www.danielebonaldo.com/flutter-intro-pip</id><content type="html" xml:base="https://www.danielebonaldo.com/flutter-intro-pip/"><![CDATA[<p>In the last period <a href="https://flutter.io/">Flutter</a> gained quite a lot of interest. In case you never heard of it, Flutter is Google’s solution to build native multi-platform apps from a single codebase.</p>

<p>Flutter is created with the app UI as main priority, allowing developers to create beautiful native app with pixel-perfect experiences on both iOS and Android.
Flutter apps run smoothly with beautiful animations and the development cycle is incredibly fast, thank to the hot reload feature which allows to see almost instantaneously any changes to the UI while developing.</p>

<p>While this framework is relatively new, there are already quite a lot of apps built using Flutter and the number is constantly growing.</p>

<hr />

<p><br />
On the 21st of January 2019, I gave an introduction talk about Flutter on a local meetup named <a href="http://www.programmersinpadua.it/">Programmers in Padua</a>.
<br />
This is a meetup whose members are involved with software development, both professionally, for passion or still studying it.
<br />
While the audience is not only mobile-centric, I thought that Flutter could be an interesting topic for this kind of event, especially considering the latest announcements about bringing Flutter to the web and desktop.</p>

<p>These are the slides for the presentation I gave:</p>

<script async="" class="speakerdeck-embed" data-id="5980329c915e45d8a9ce4dd55ae661d1" data-ratio="1.77777777777778" src="//speakerdeck.com/assets/embed.js"></script>

<p><br />
And this is the recording (in Italian):</p>

<iframe width="560" height="315" src="https://www.youtube.com/embed/IYCTjE4ZMEs" frameborder="0" allow="accelerometer; autoplay; encrypted-media; gyroscope; picture-in-picture" allowfullscreen=""></iframe>]]></content><author><name>Daniele Bonaldo</name></author><summary type="html"><![CDATA[An introduction to Flutter, Google's multi-platform mobile applications framework, presented at Programmers in Padua meetup]]></summary></entry></feed>